

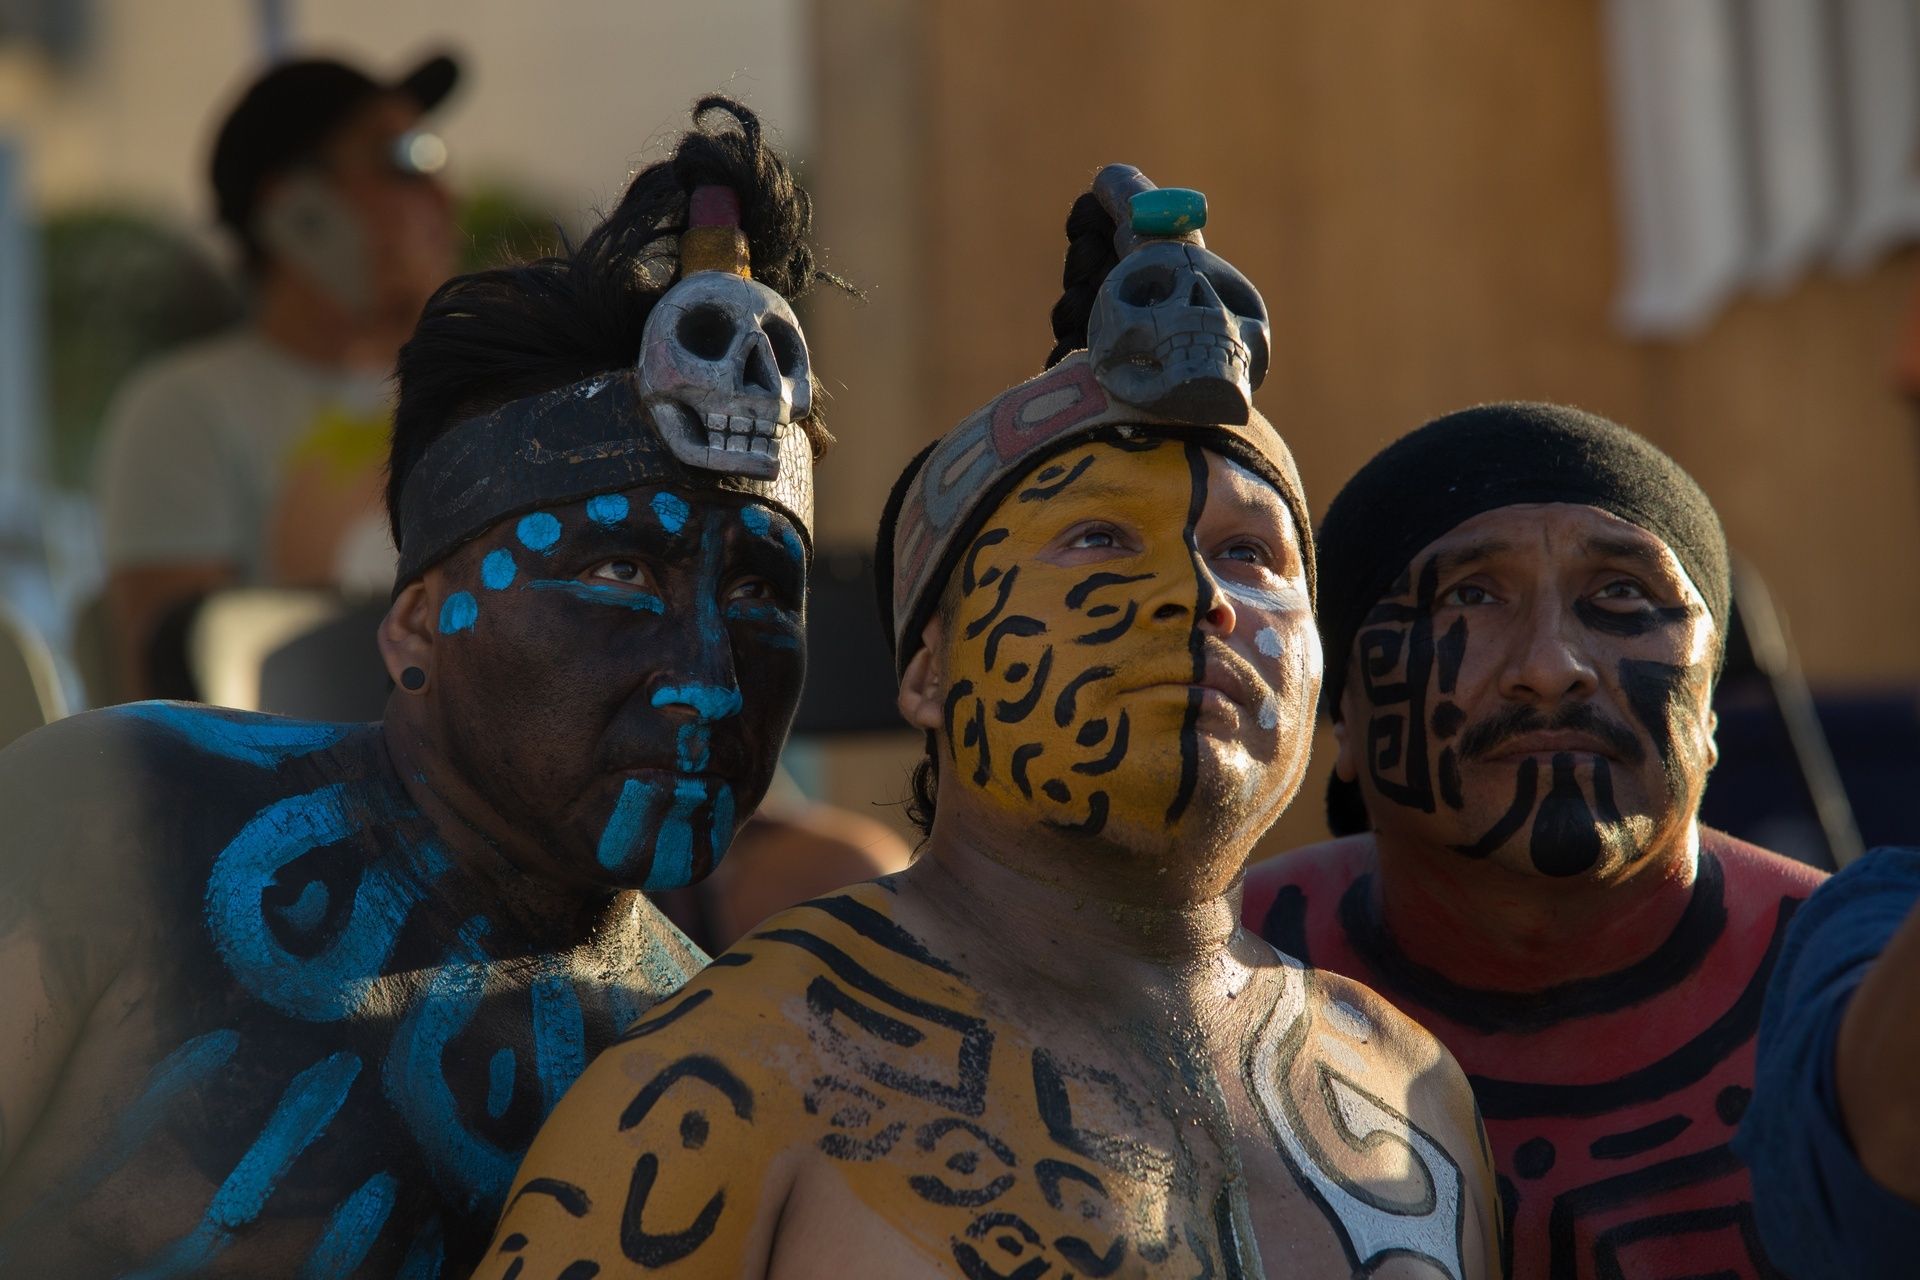

Event recap
Discover the magic of MAYA MAYA at our Landquart event. Explore the ‘Unique and Indigenous’ collection, enjoy cocktails, and workshops.
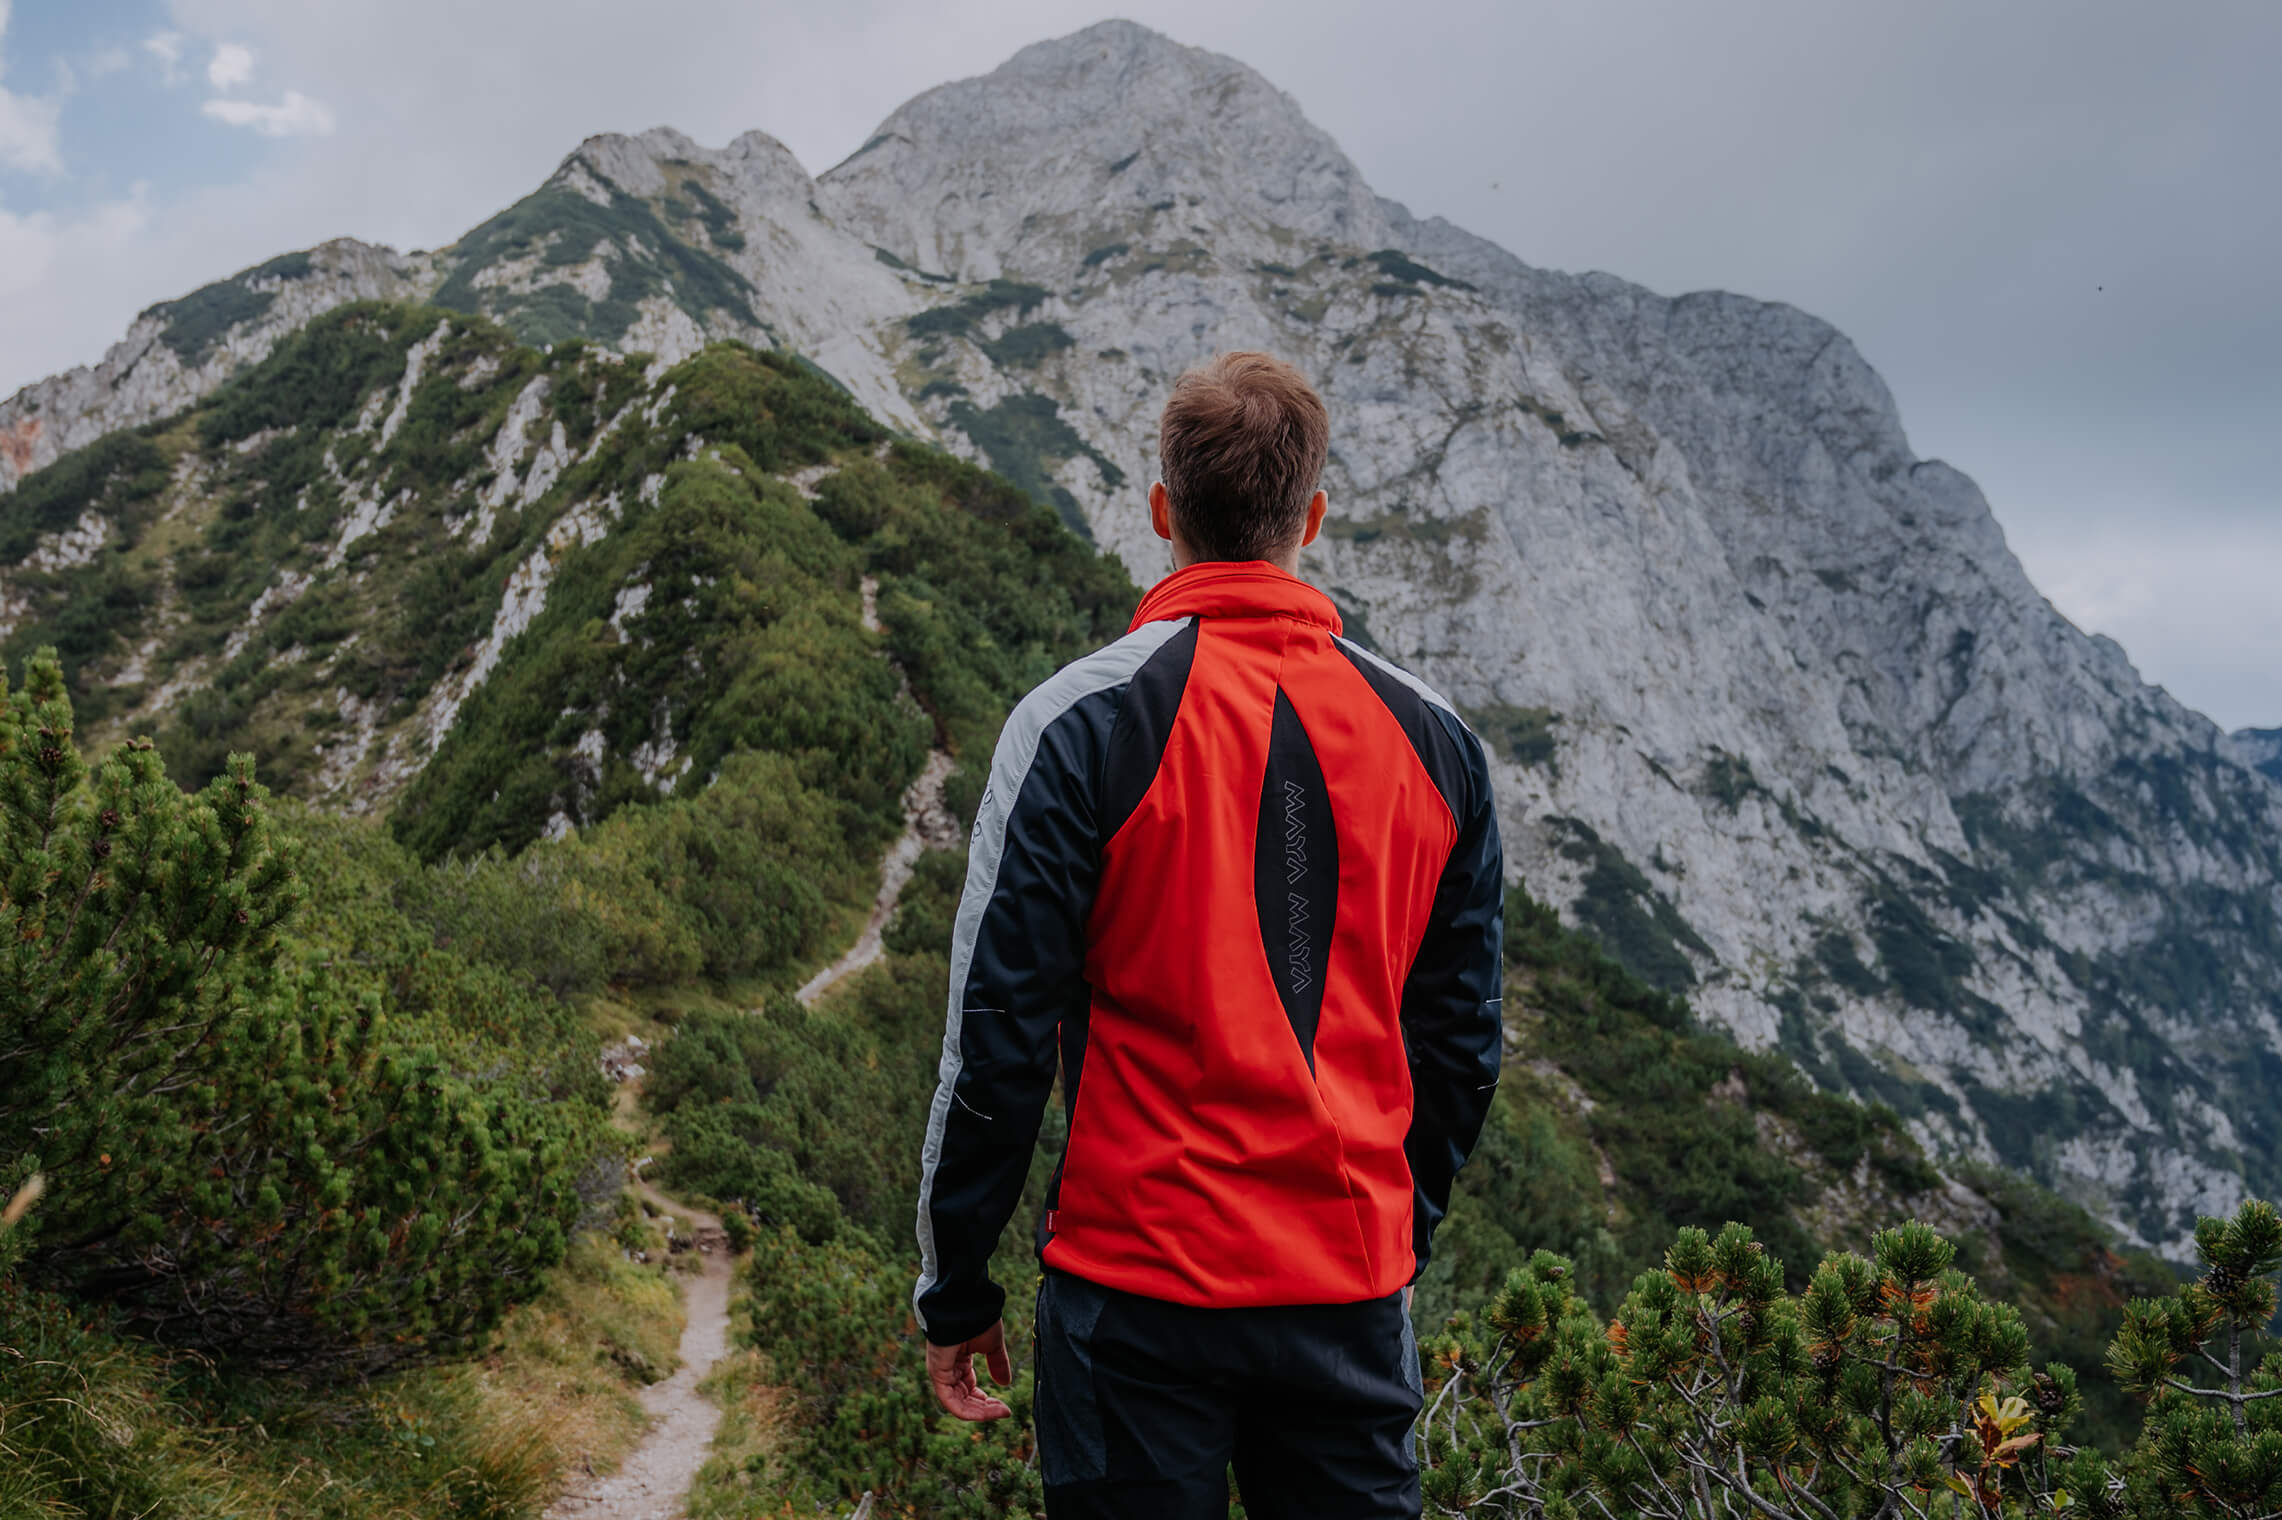
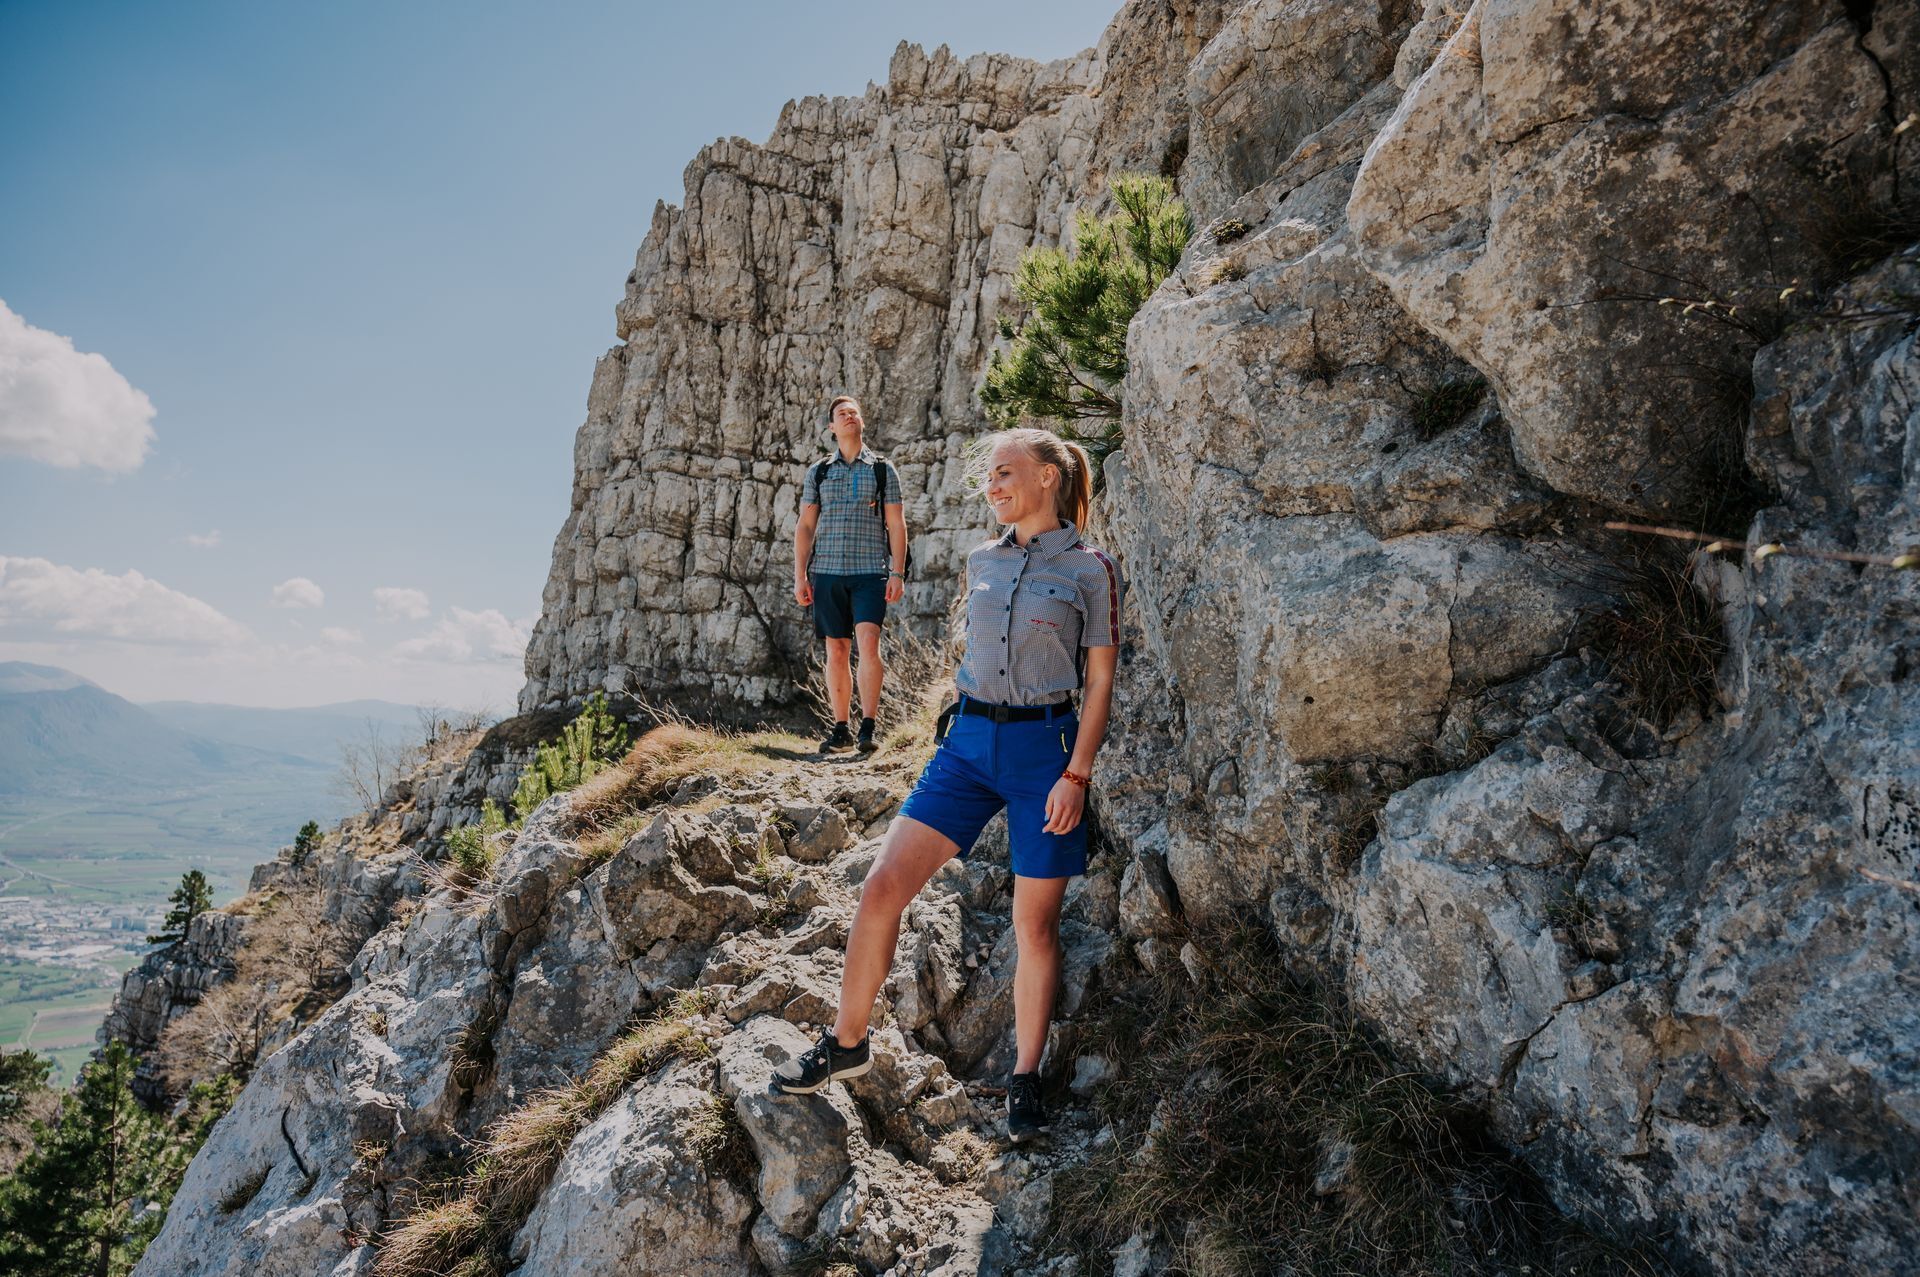
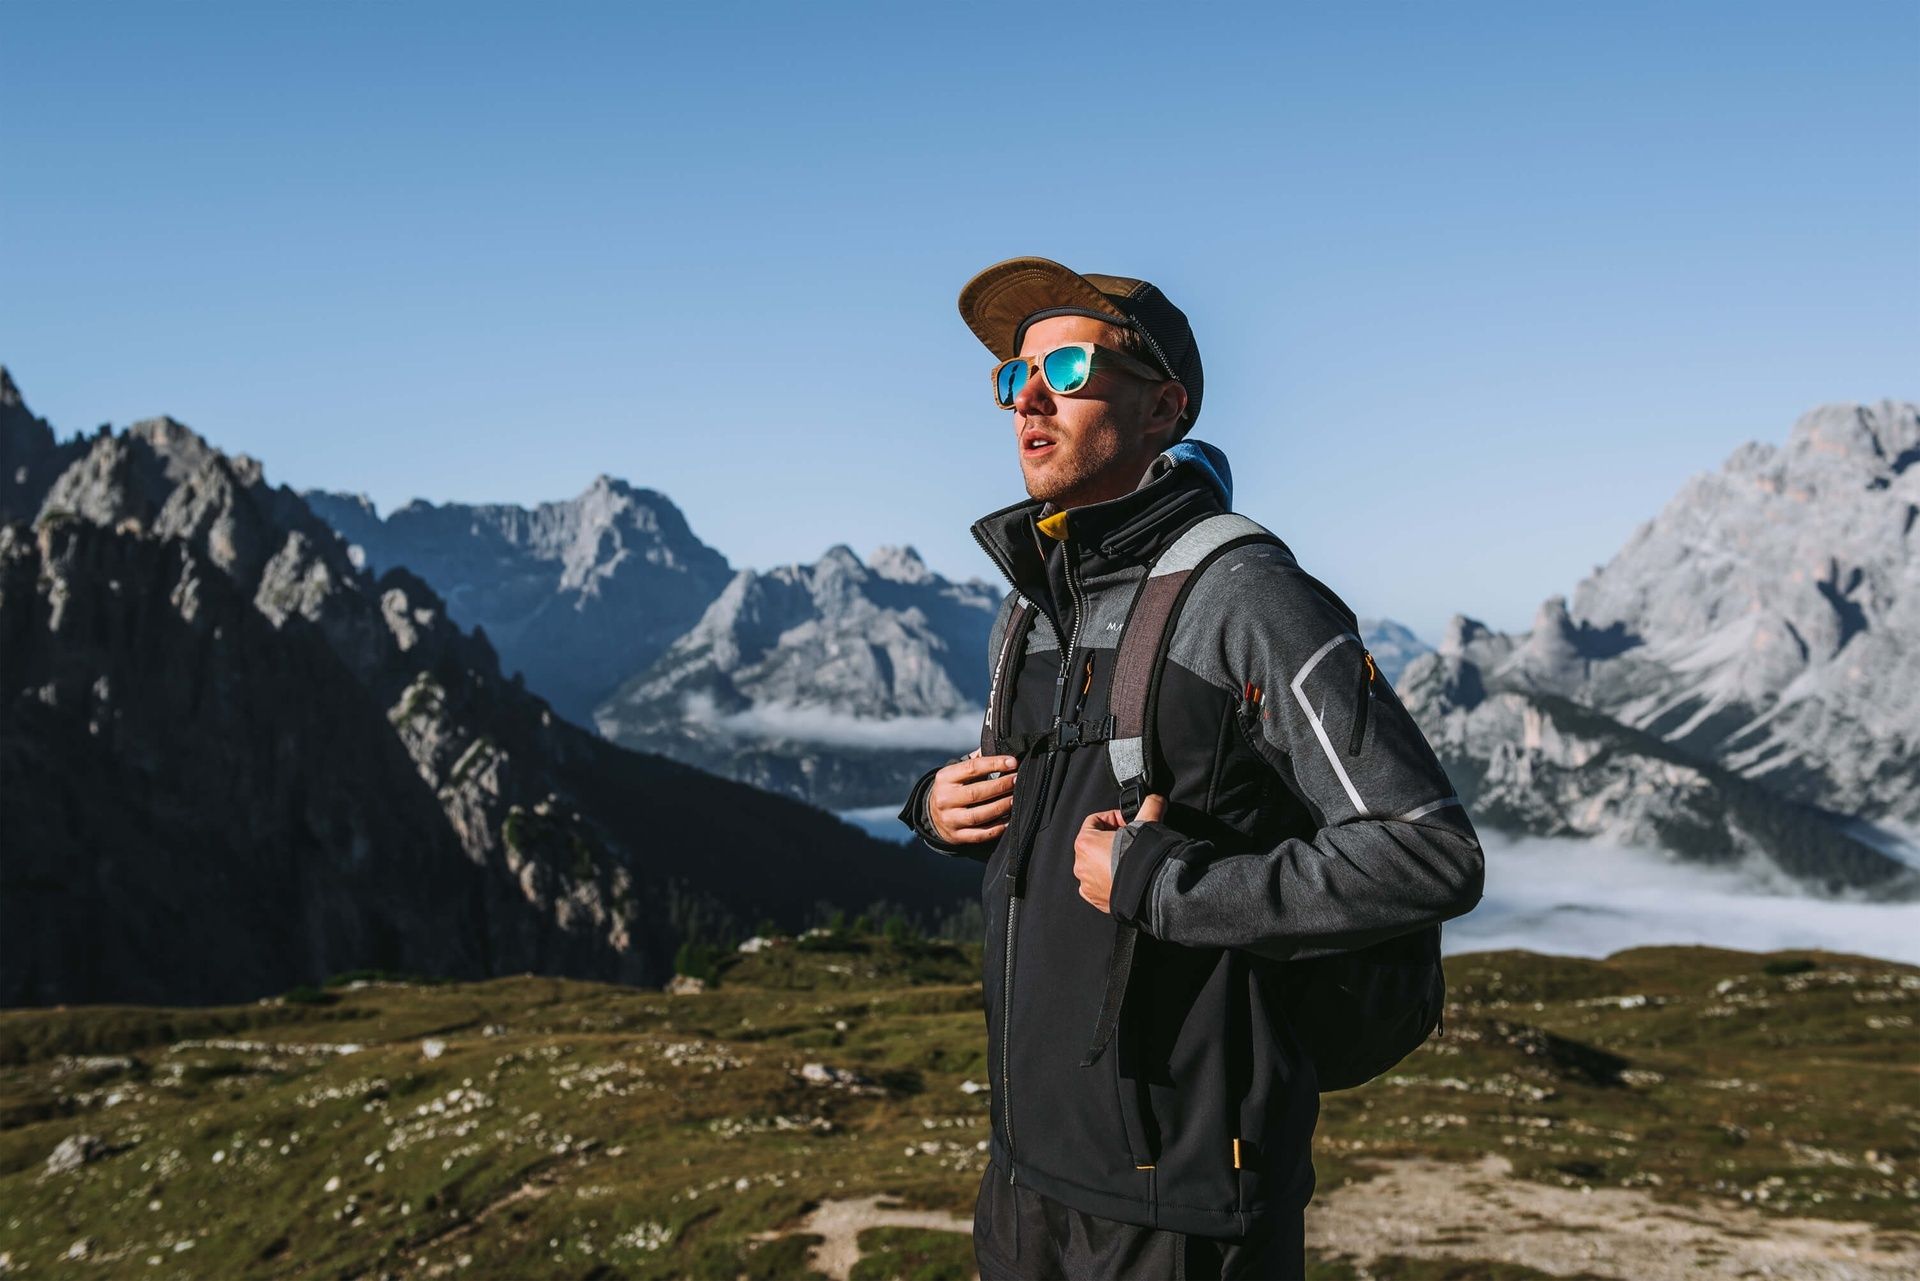
What to wear for an autumn hike?
Gear up for colder days with our guide on hiking in dry conditions. Learn about layering, baselayer, softshell and pants for optimal comfort.
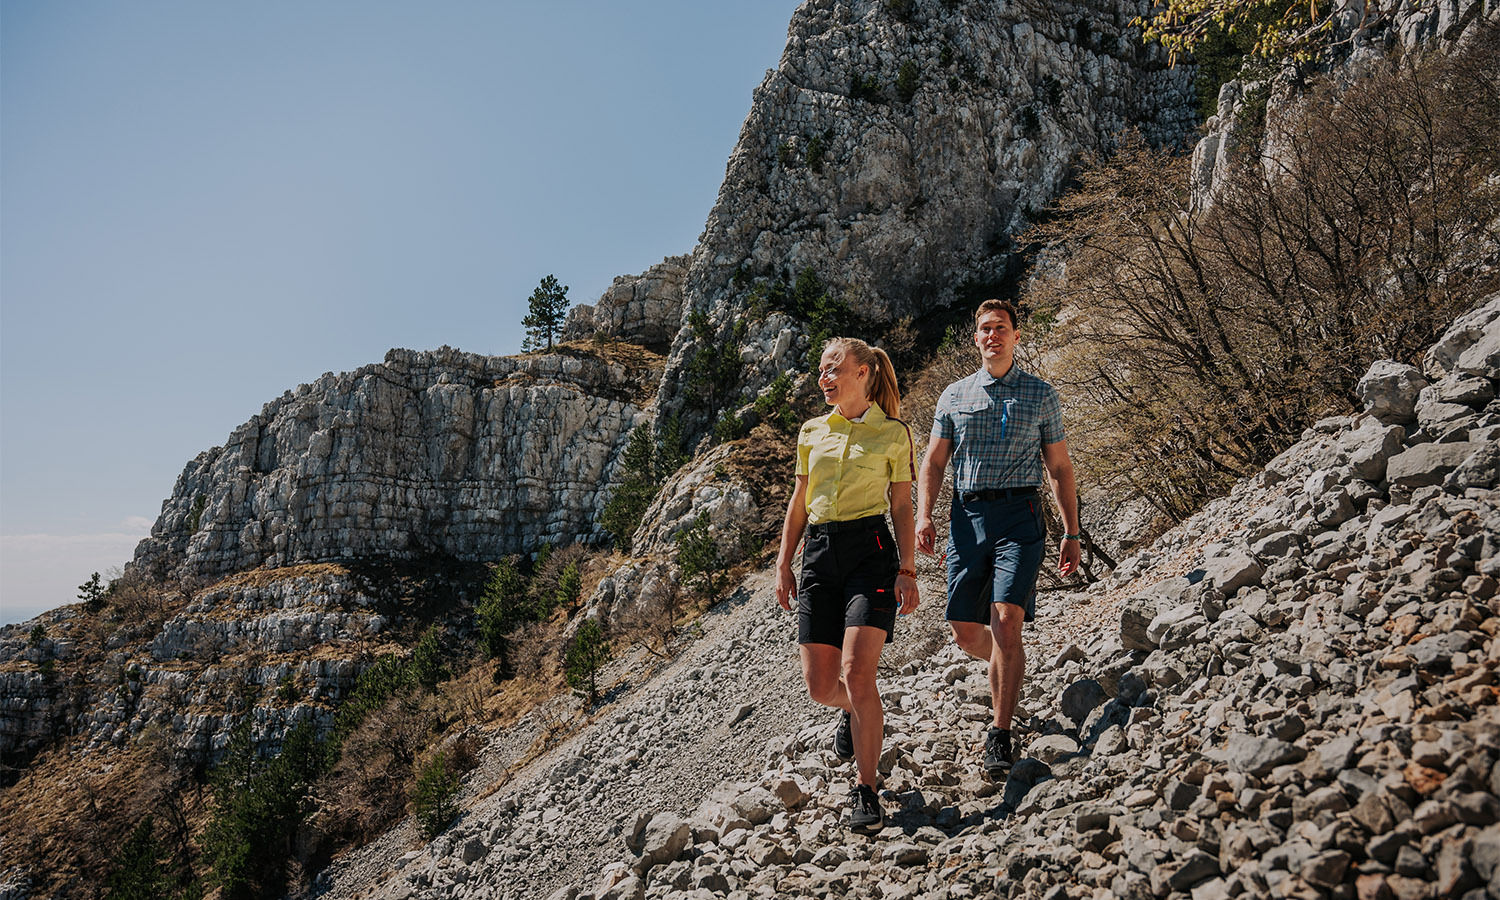
THE HEAT: Part 3
Stay stylish and protected under the summer sun with our perfect outfits for walking, beach outings, active vacations, and mountain hikes.

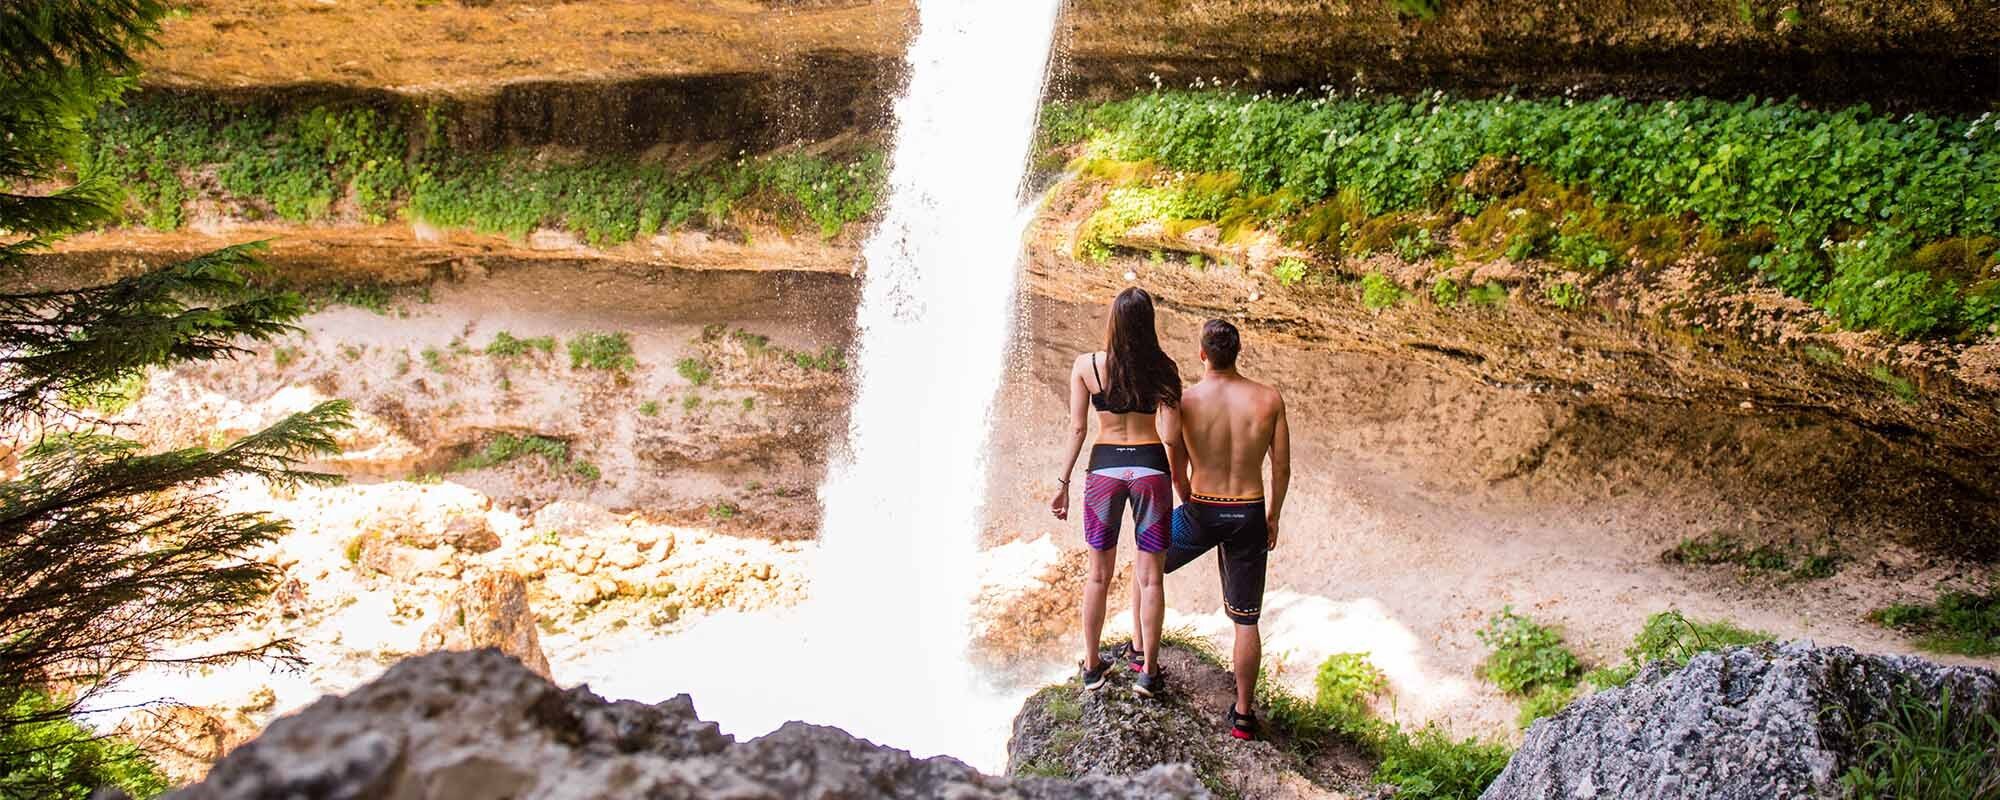
THE HEAT: Part 2
Stay safe in the heat with tips on UV protection, hydration, and clothing. Adapt to summer conditions for outdoor activities, enjoy the sun!
THE HEAT: Part 1
Learn how your body functions in the heat, how to stay safe outdoors, basics of thermal comfort, internal temperature regulation, sweating.
Thermal balance: what it means?
Thermal balance is crucial for our well-being. Understand what it means, how it affects us and learn about heat exchange and metabolism.

