Event recap
Discover the magic of MAYA MAYA at our Landquart event. Explore the ‘Unique and Indigenous’ collection, enjoy cocktails, and workshops.
Discover the magic of MAYA MAYA at our Landquart event. Explore the ‘Unique and Indigenous’ collection, enjoy cocktails, and workshops.
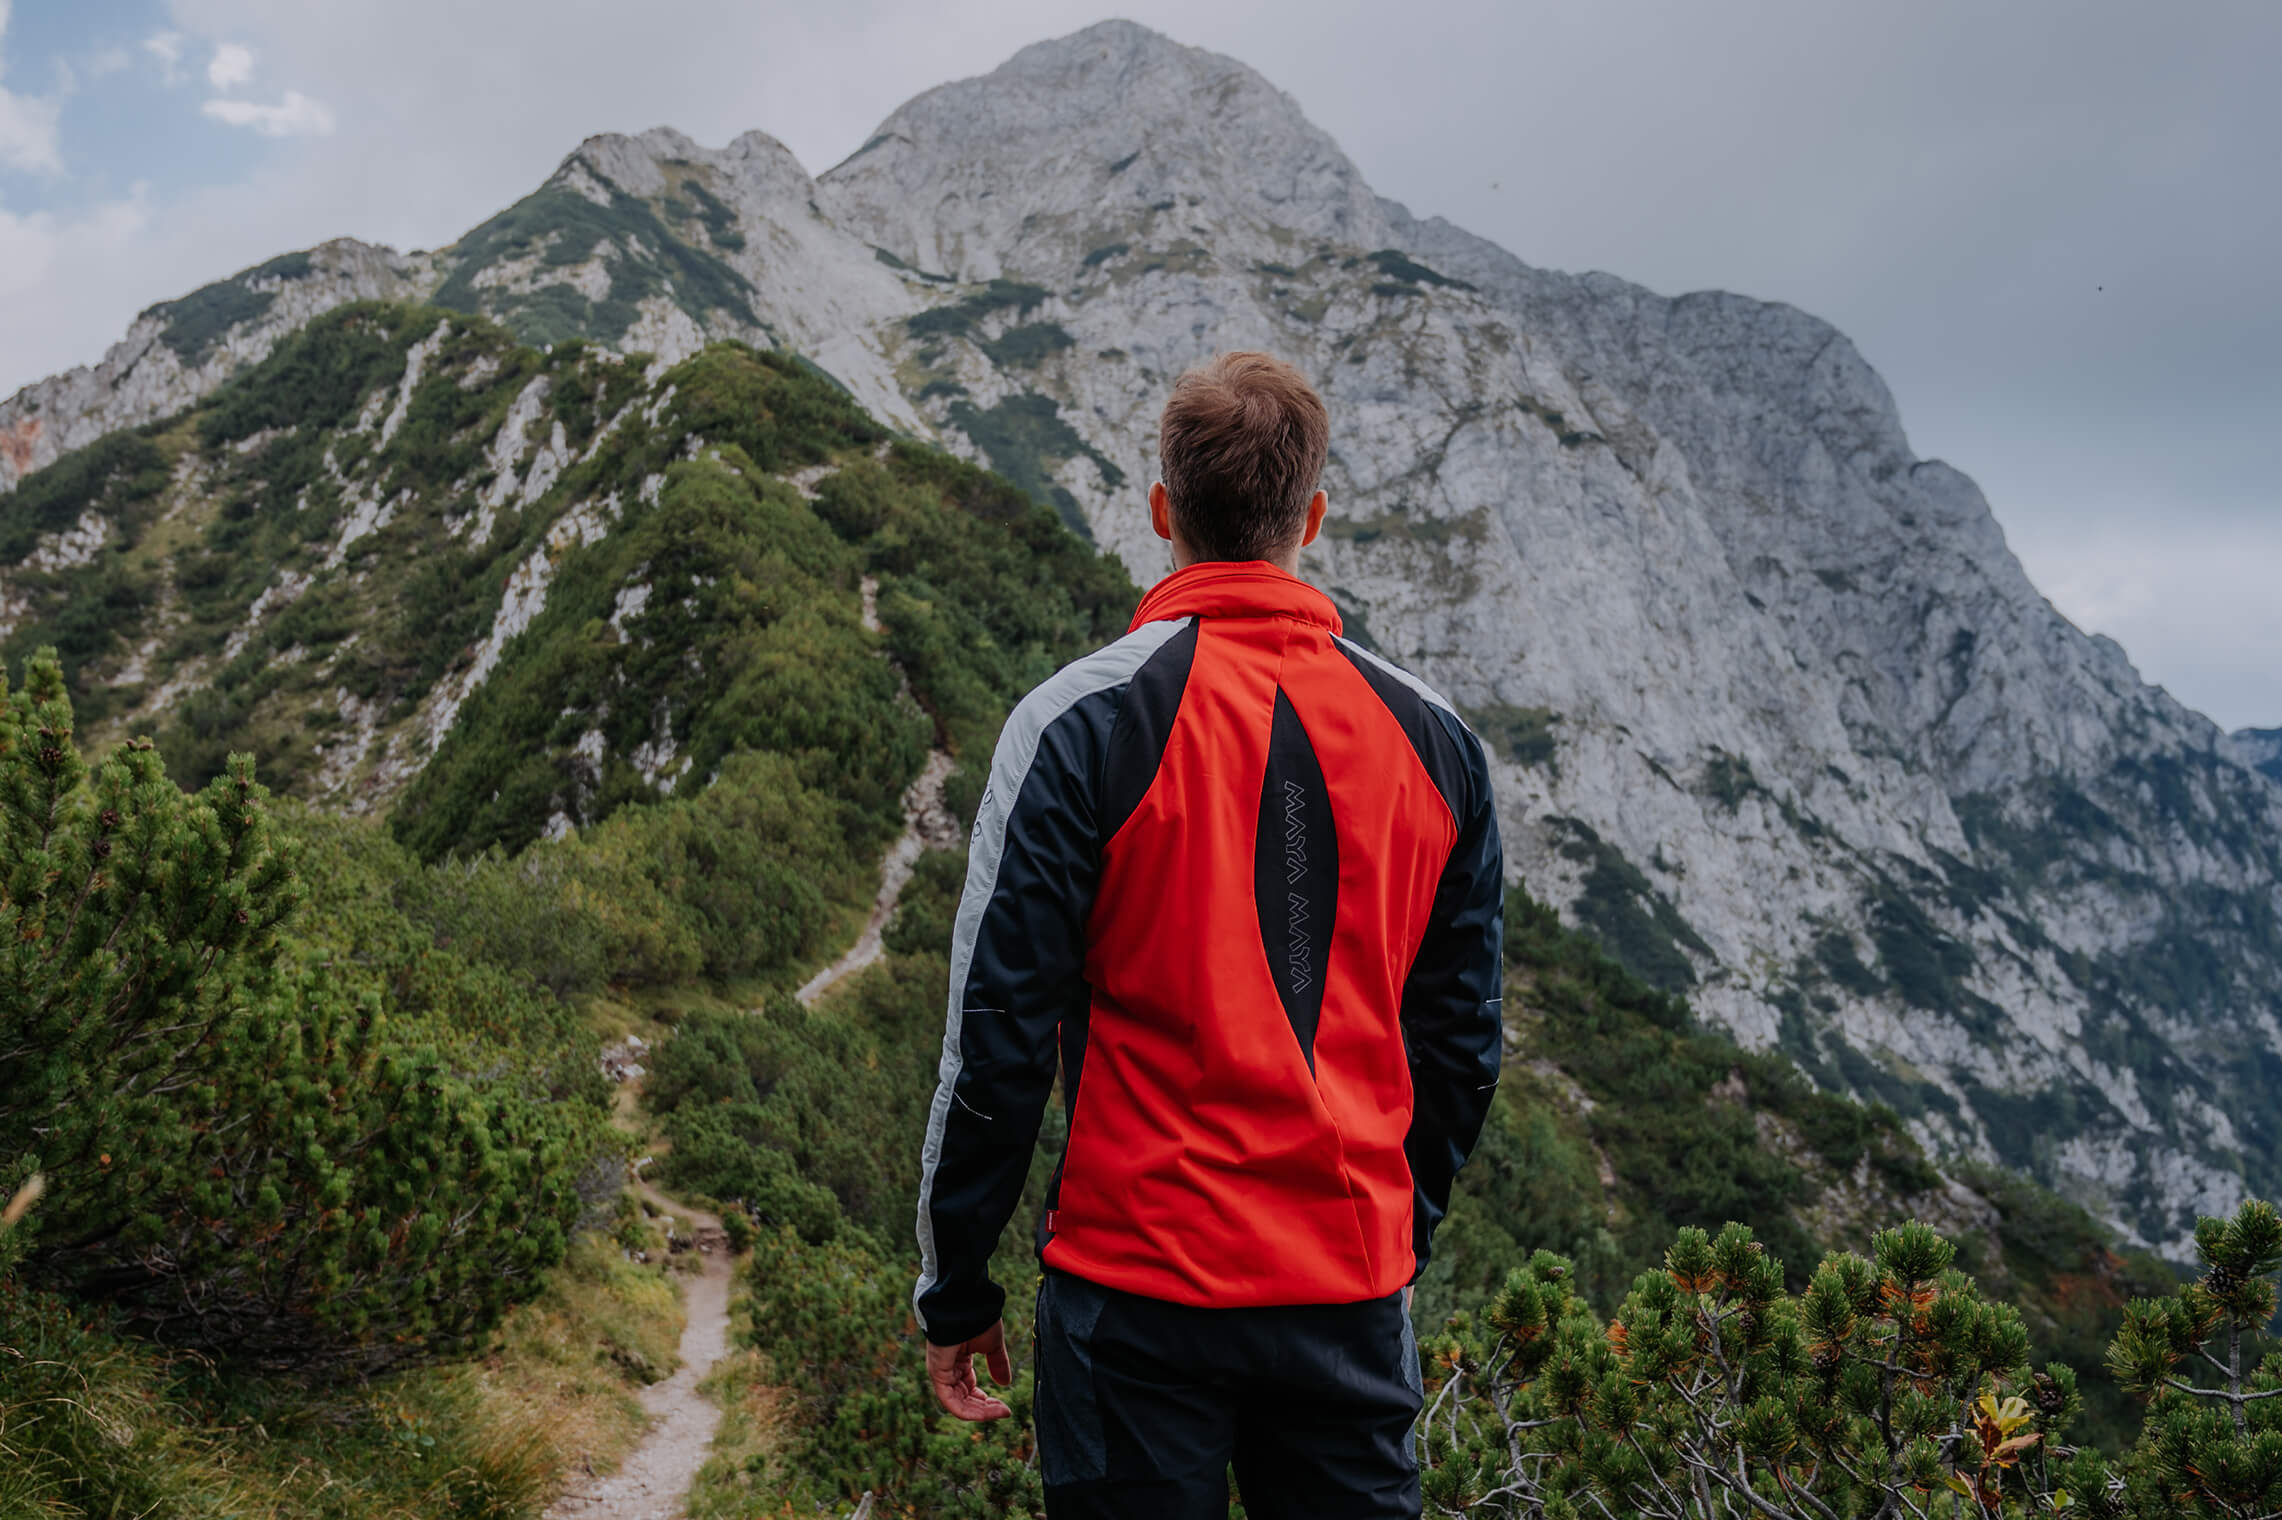
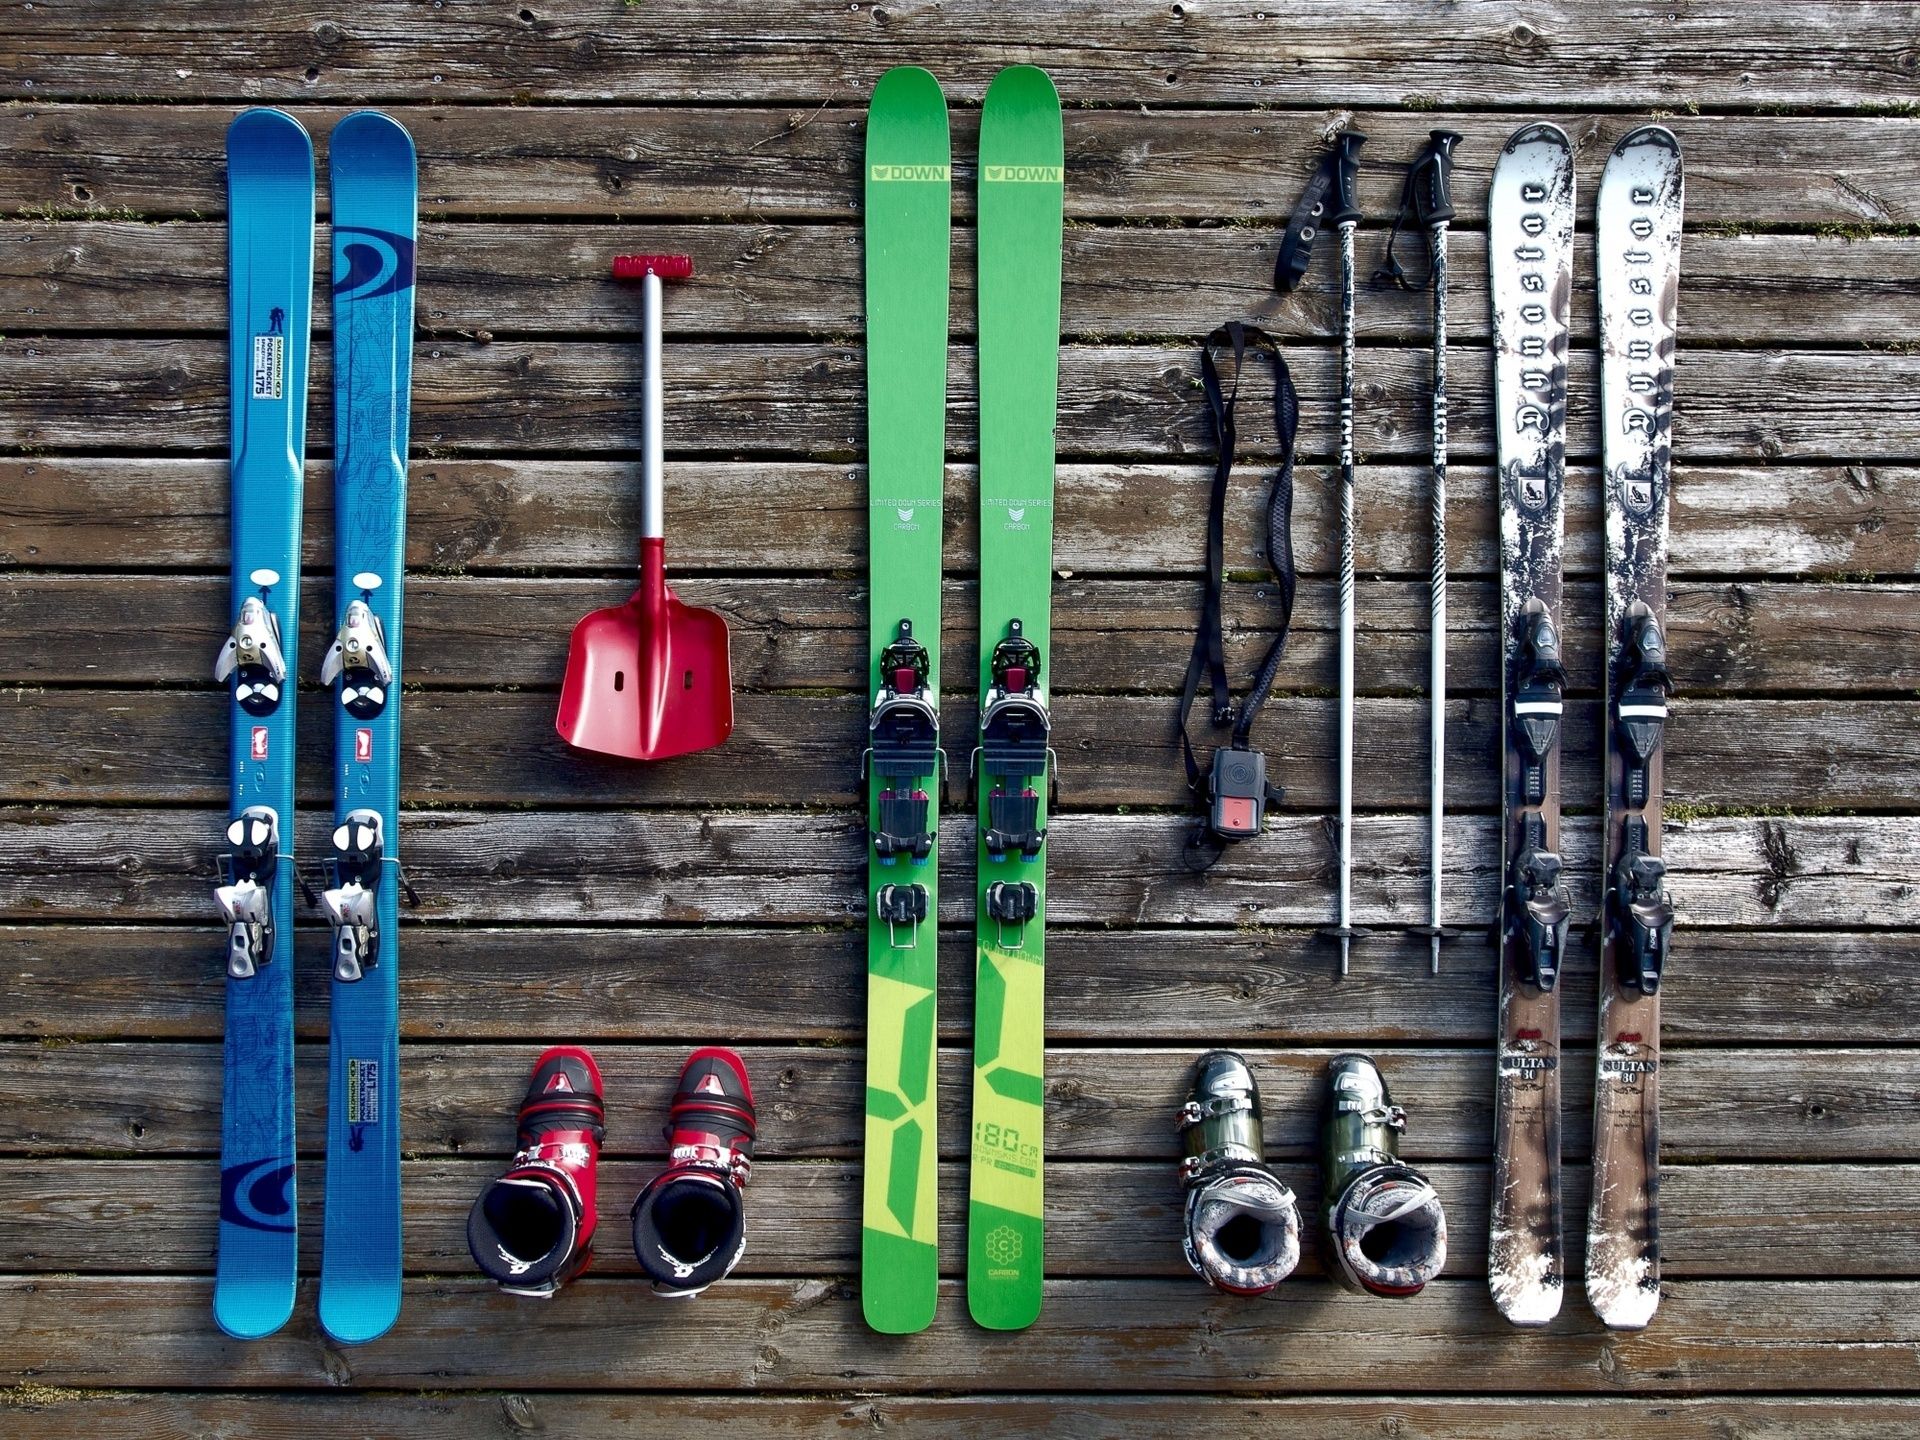
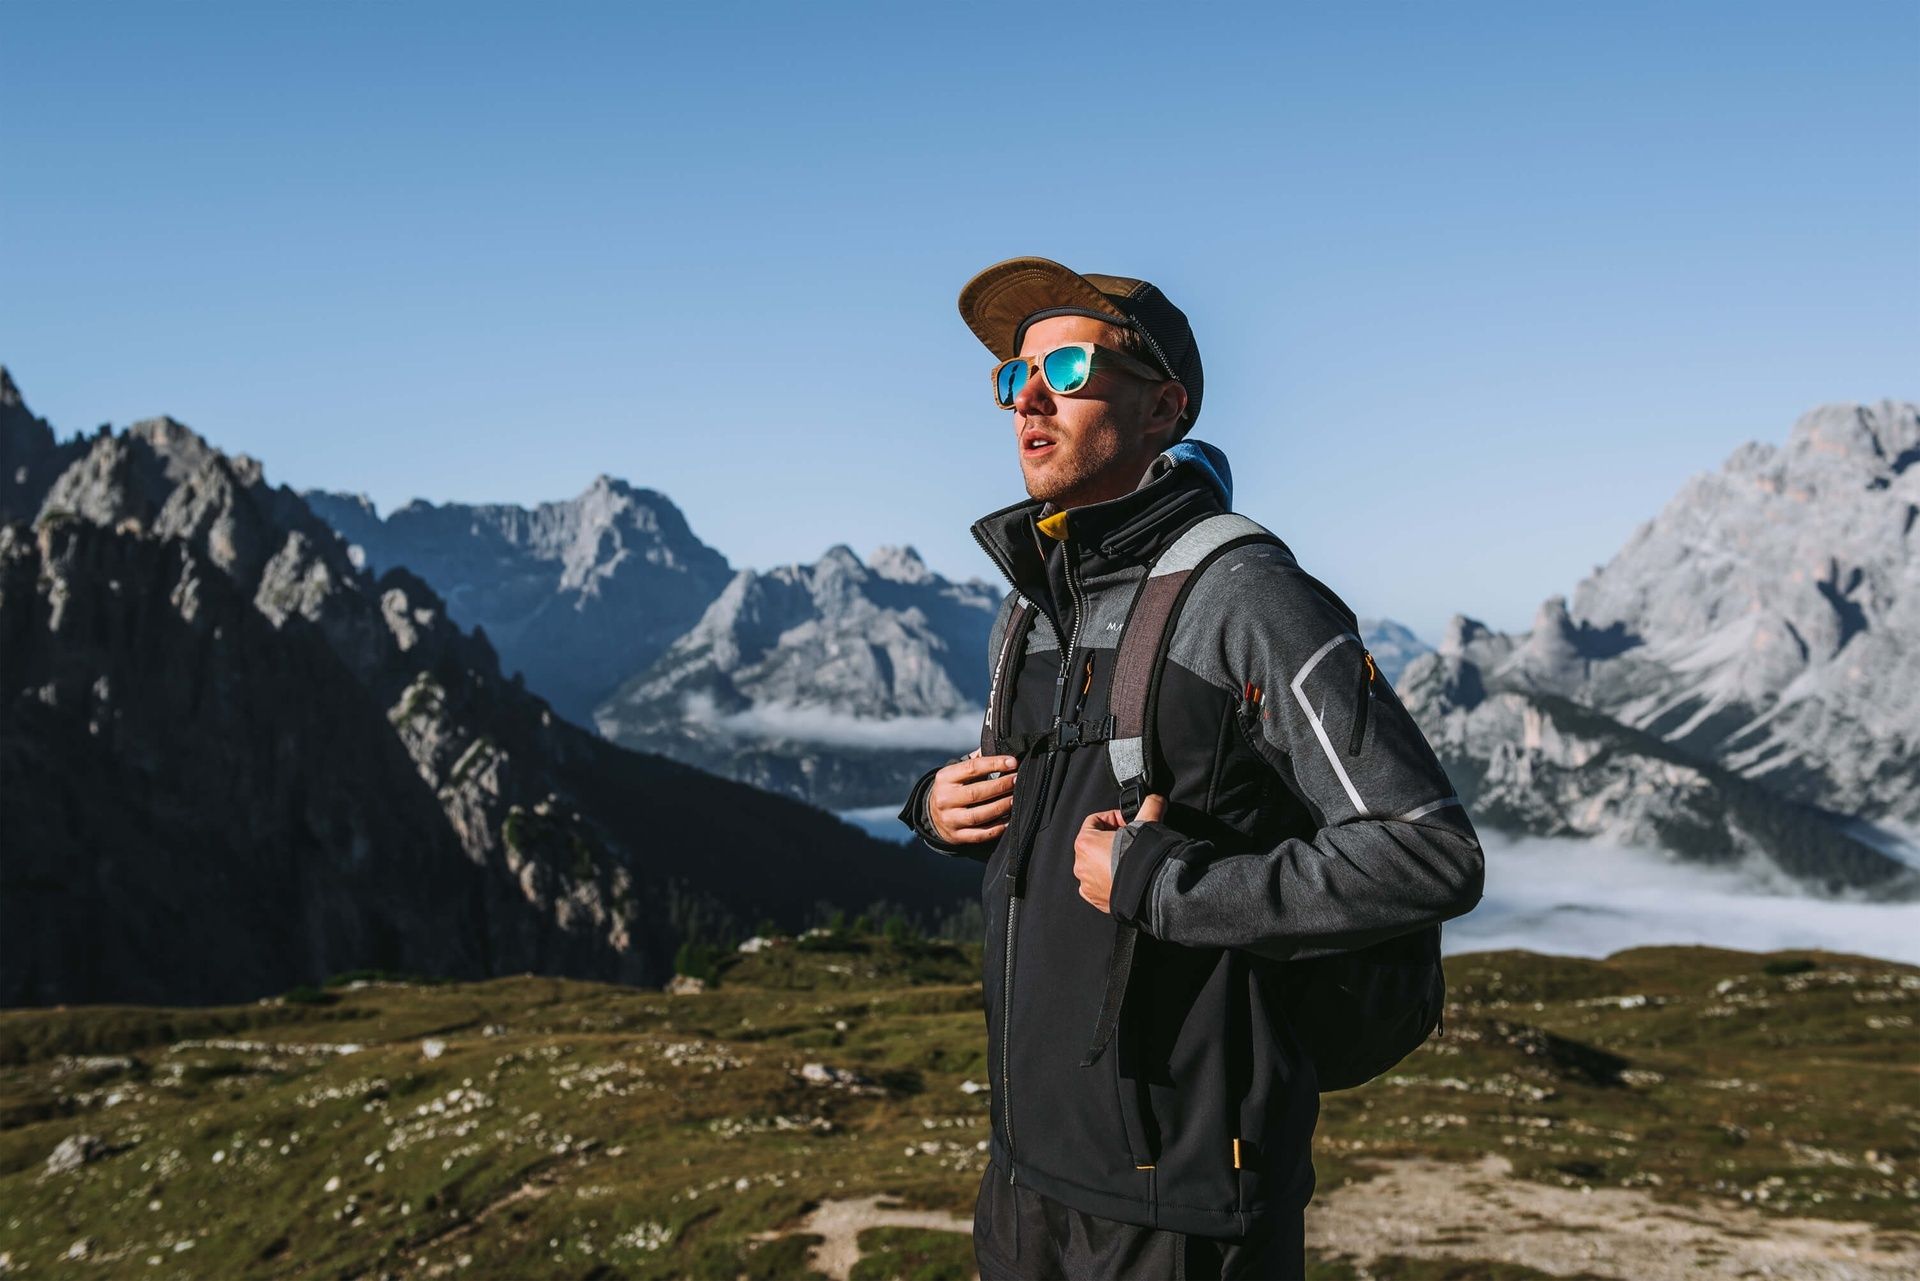
Gear up for colder days with our guide on hiking in dry conditions. Learn about layering, baselayer, softshell and pants for optimal comfort.
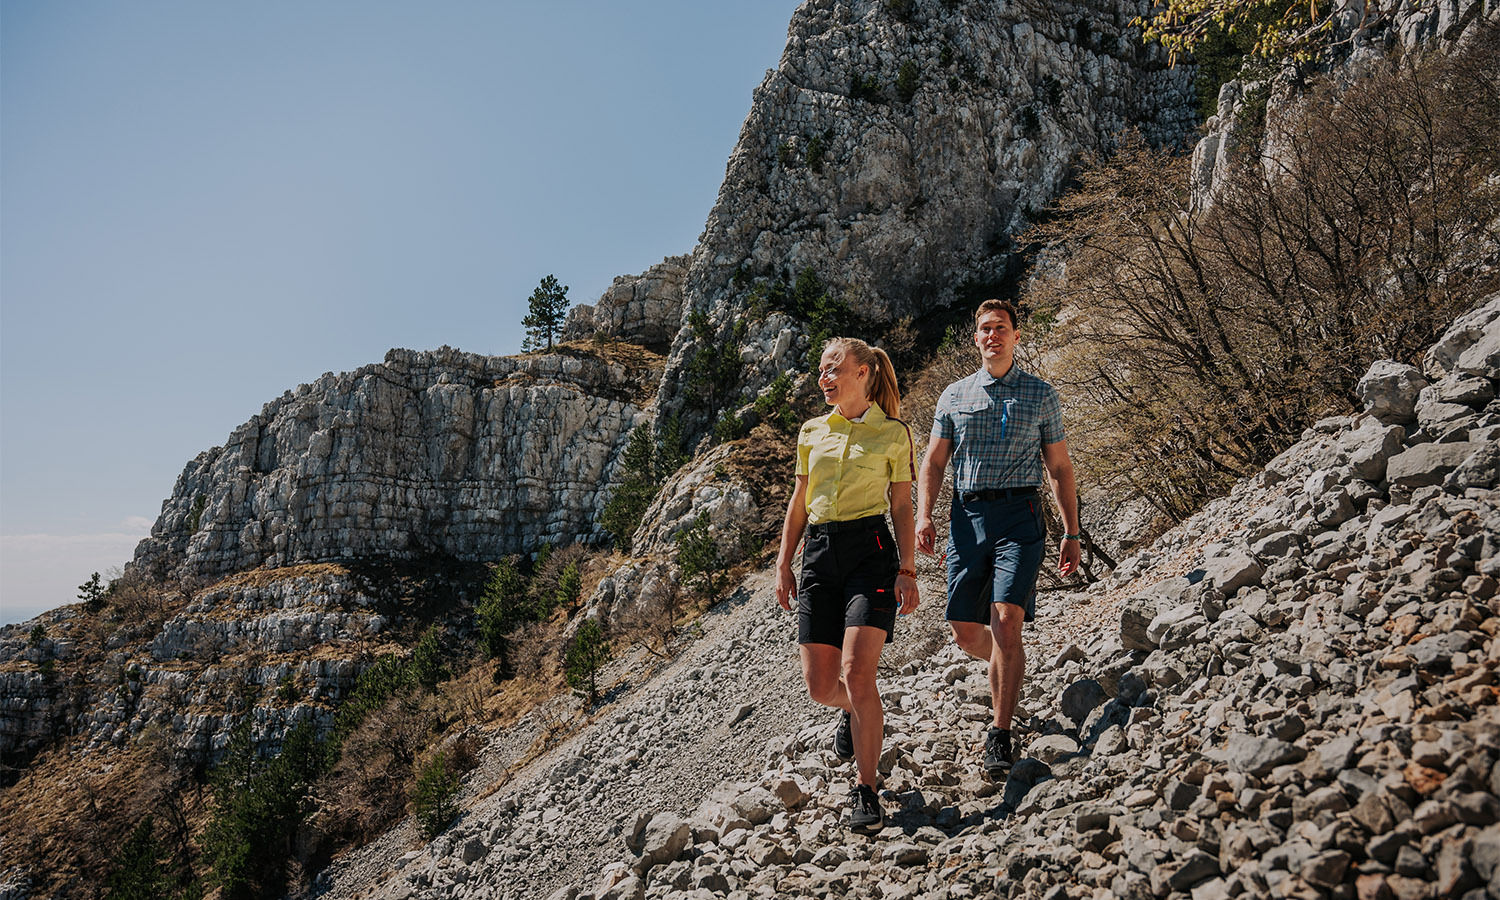
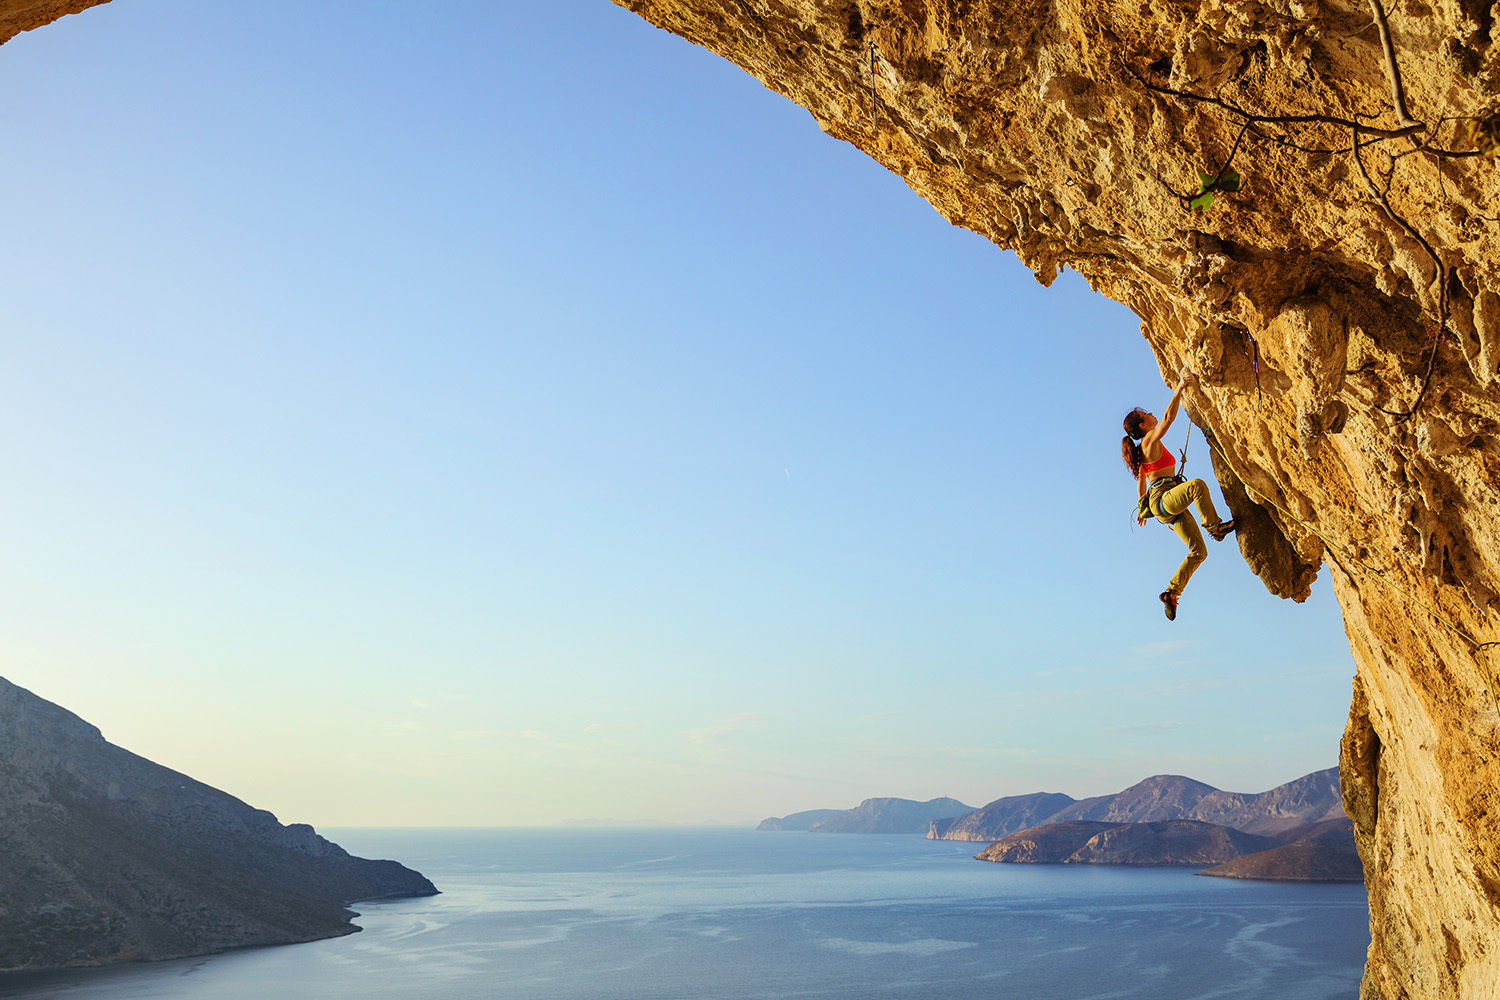
Stay stylish and protected under the summer sun with our perfect outfits for walking, beach outings, active vacations, and mountain hikes.

Stay safe in the heat with tips on UV protection, hydration, and clothing. Adapt to summer conditions for outdoor activities, enjoy the sun!
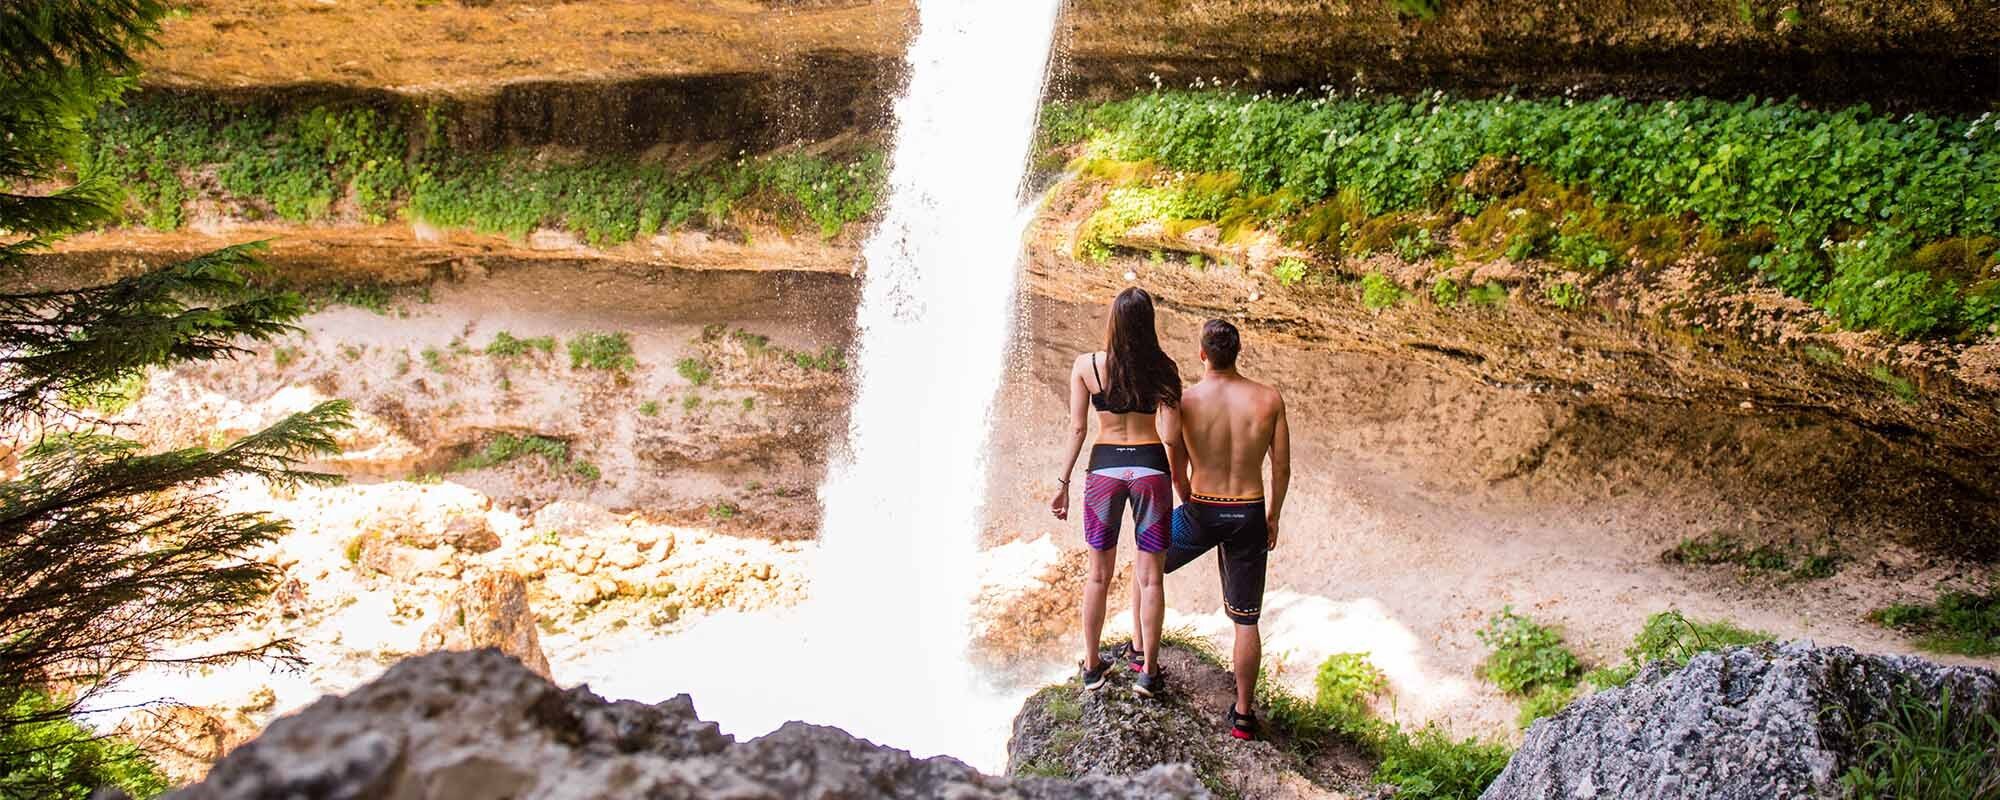
Learn how your body functions in the heat, how to stay safe outdoors, basics of thermal comfort, internal temperature regulation, sweating.
Thermal balance is crucial for our well-being. Understand what it means, how it affects us and learn about heat exchange and metabolism.
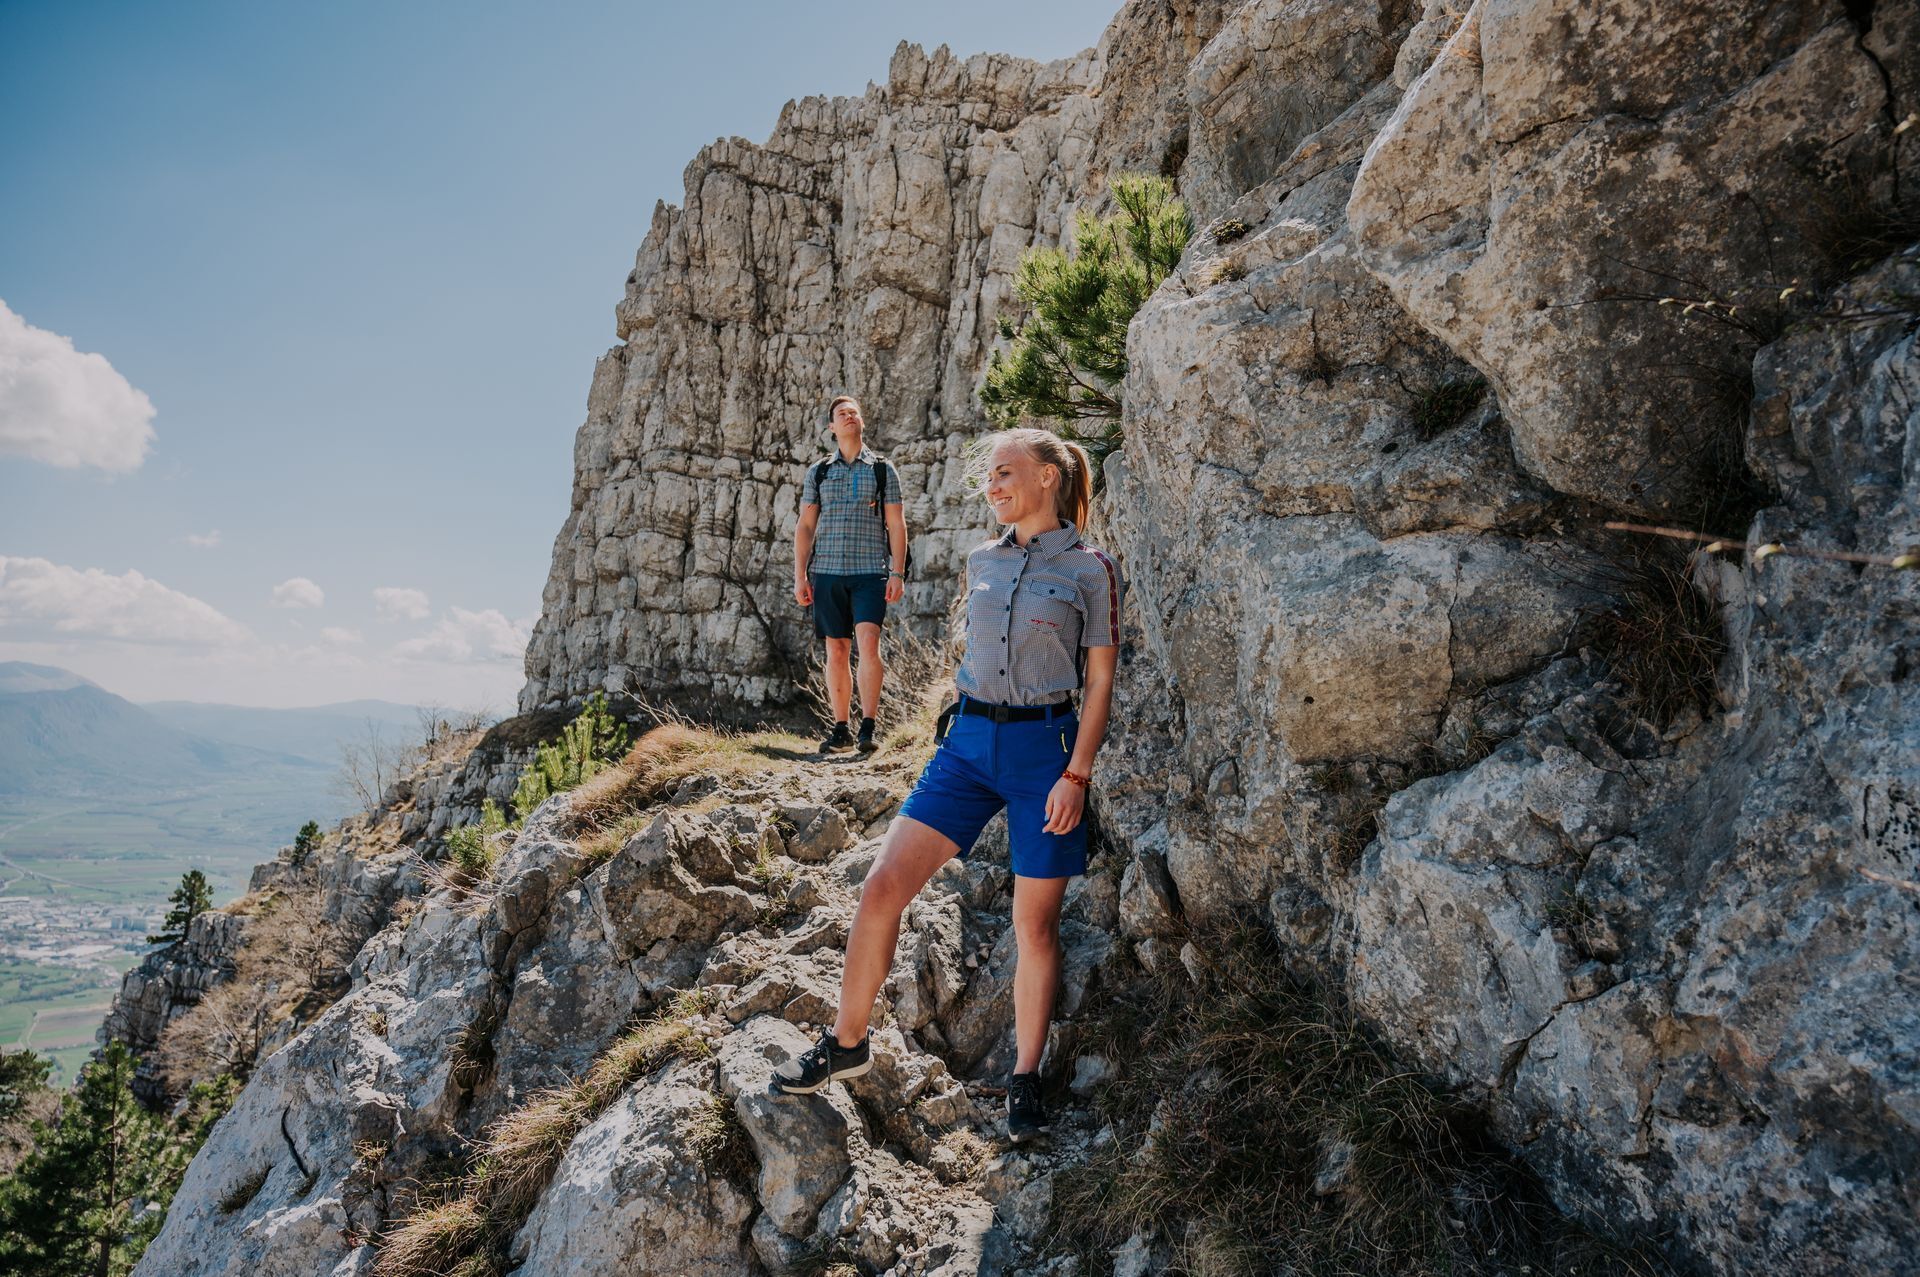
Looking for the perfect hiking outfit? Read our guide for all weather conditions. Stay comfortable and stylish with MAYA MAYA’s clothing.
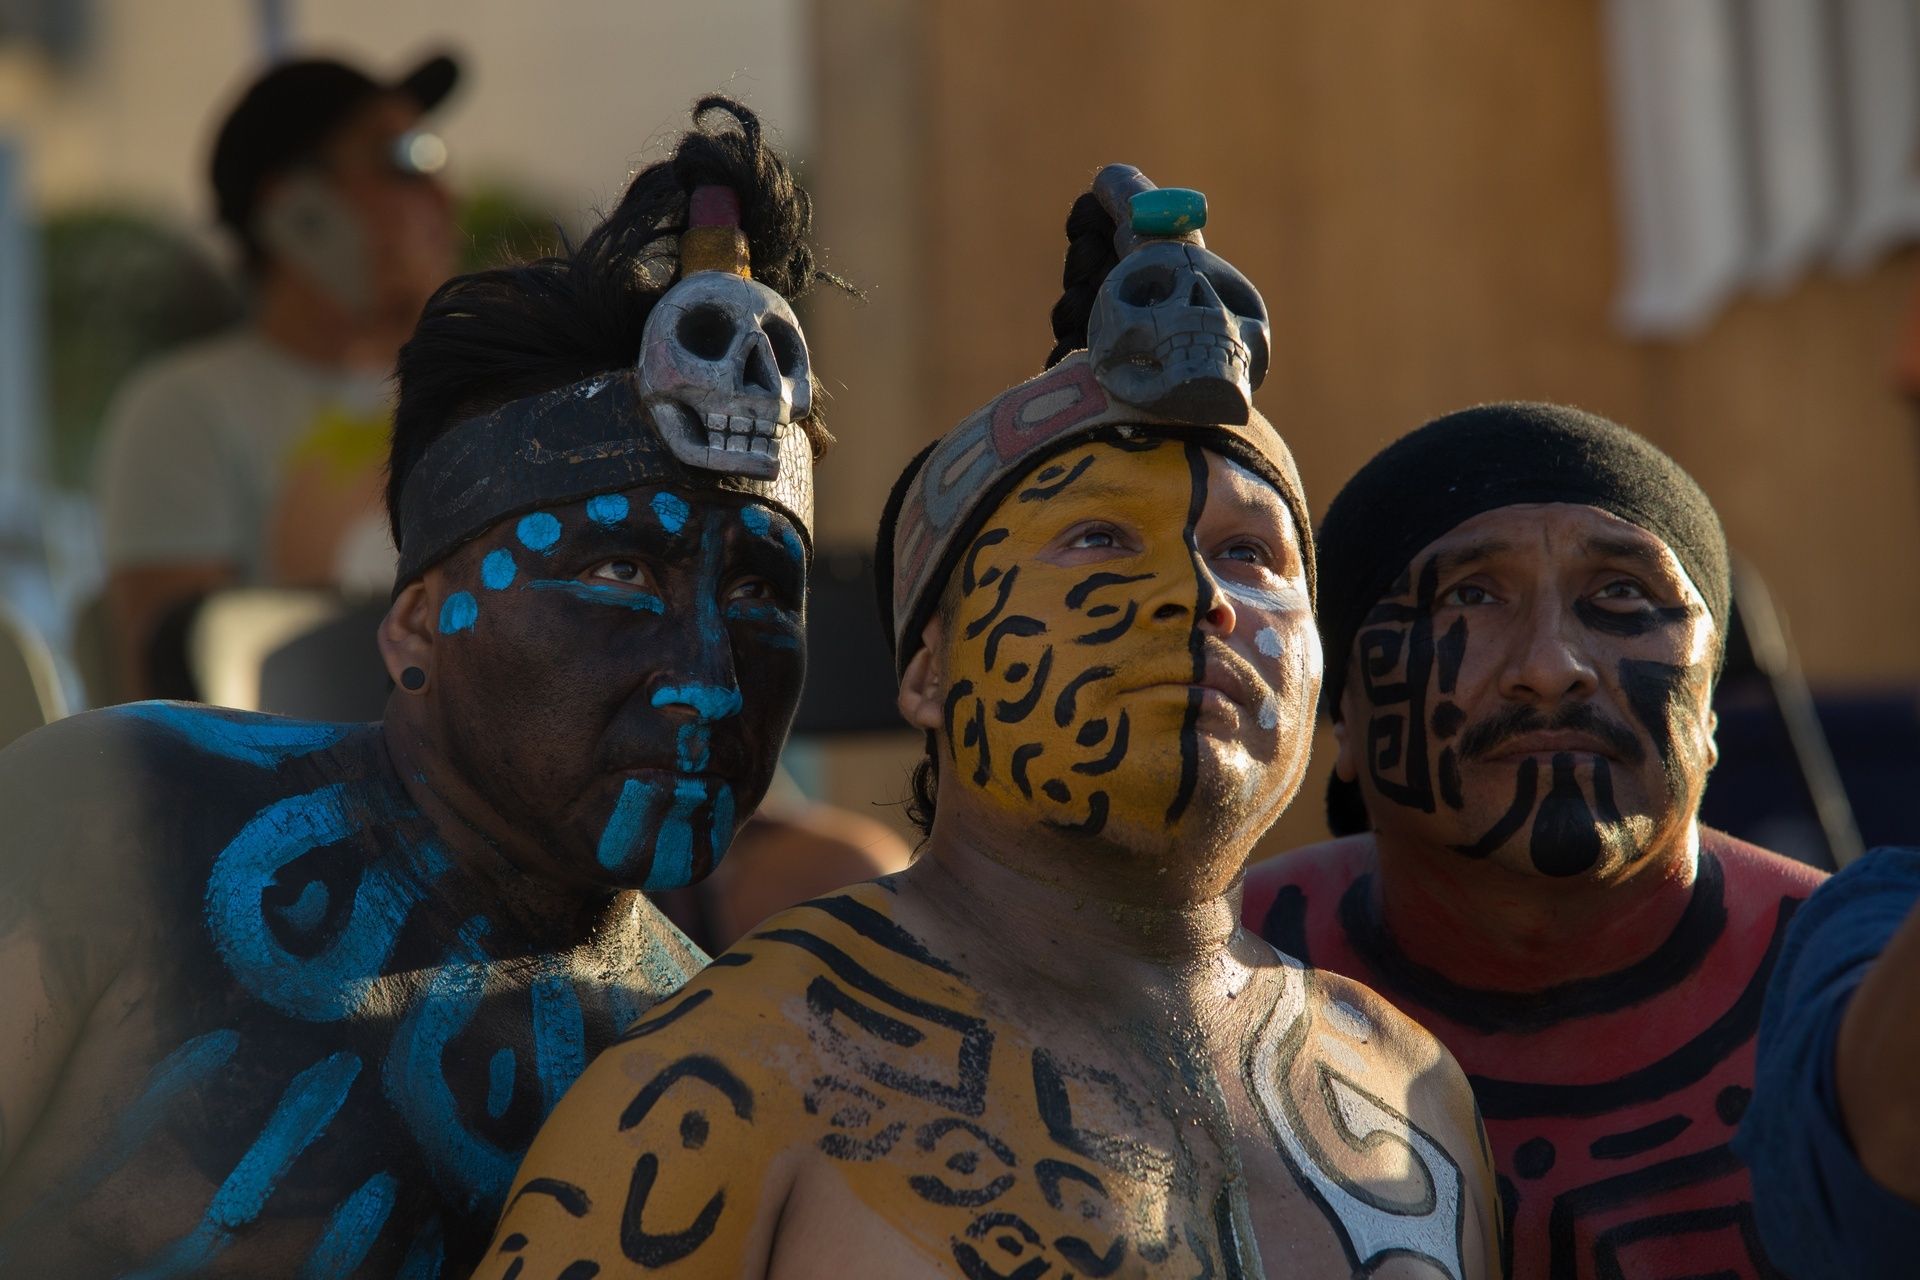
Ancient Mayans: Vibrant sports, rubber balls, and running couriers. Explore their culture and games with lively betting and cheering.
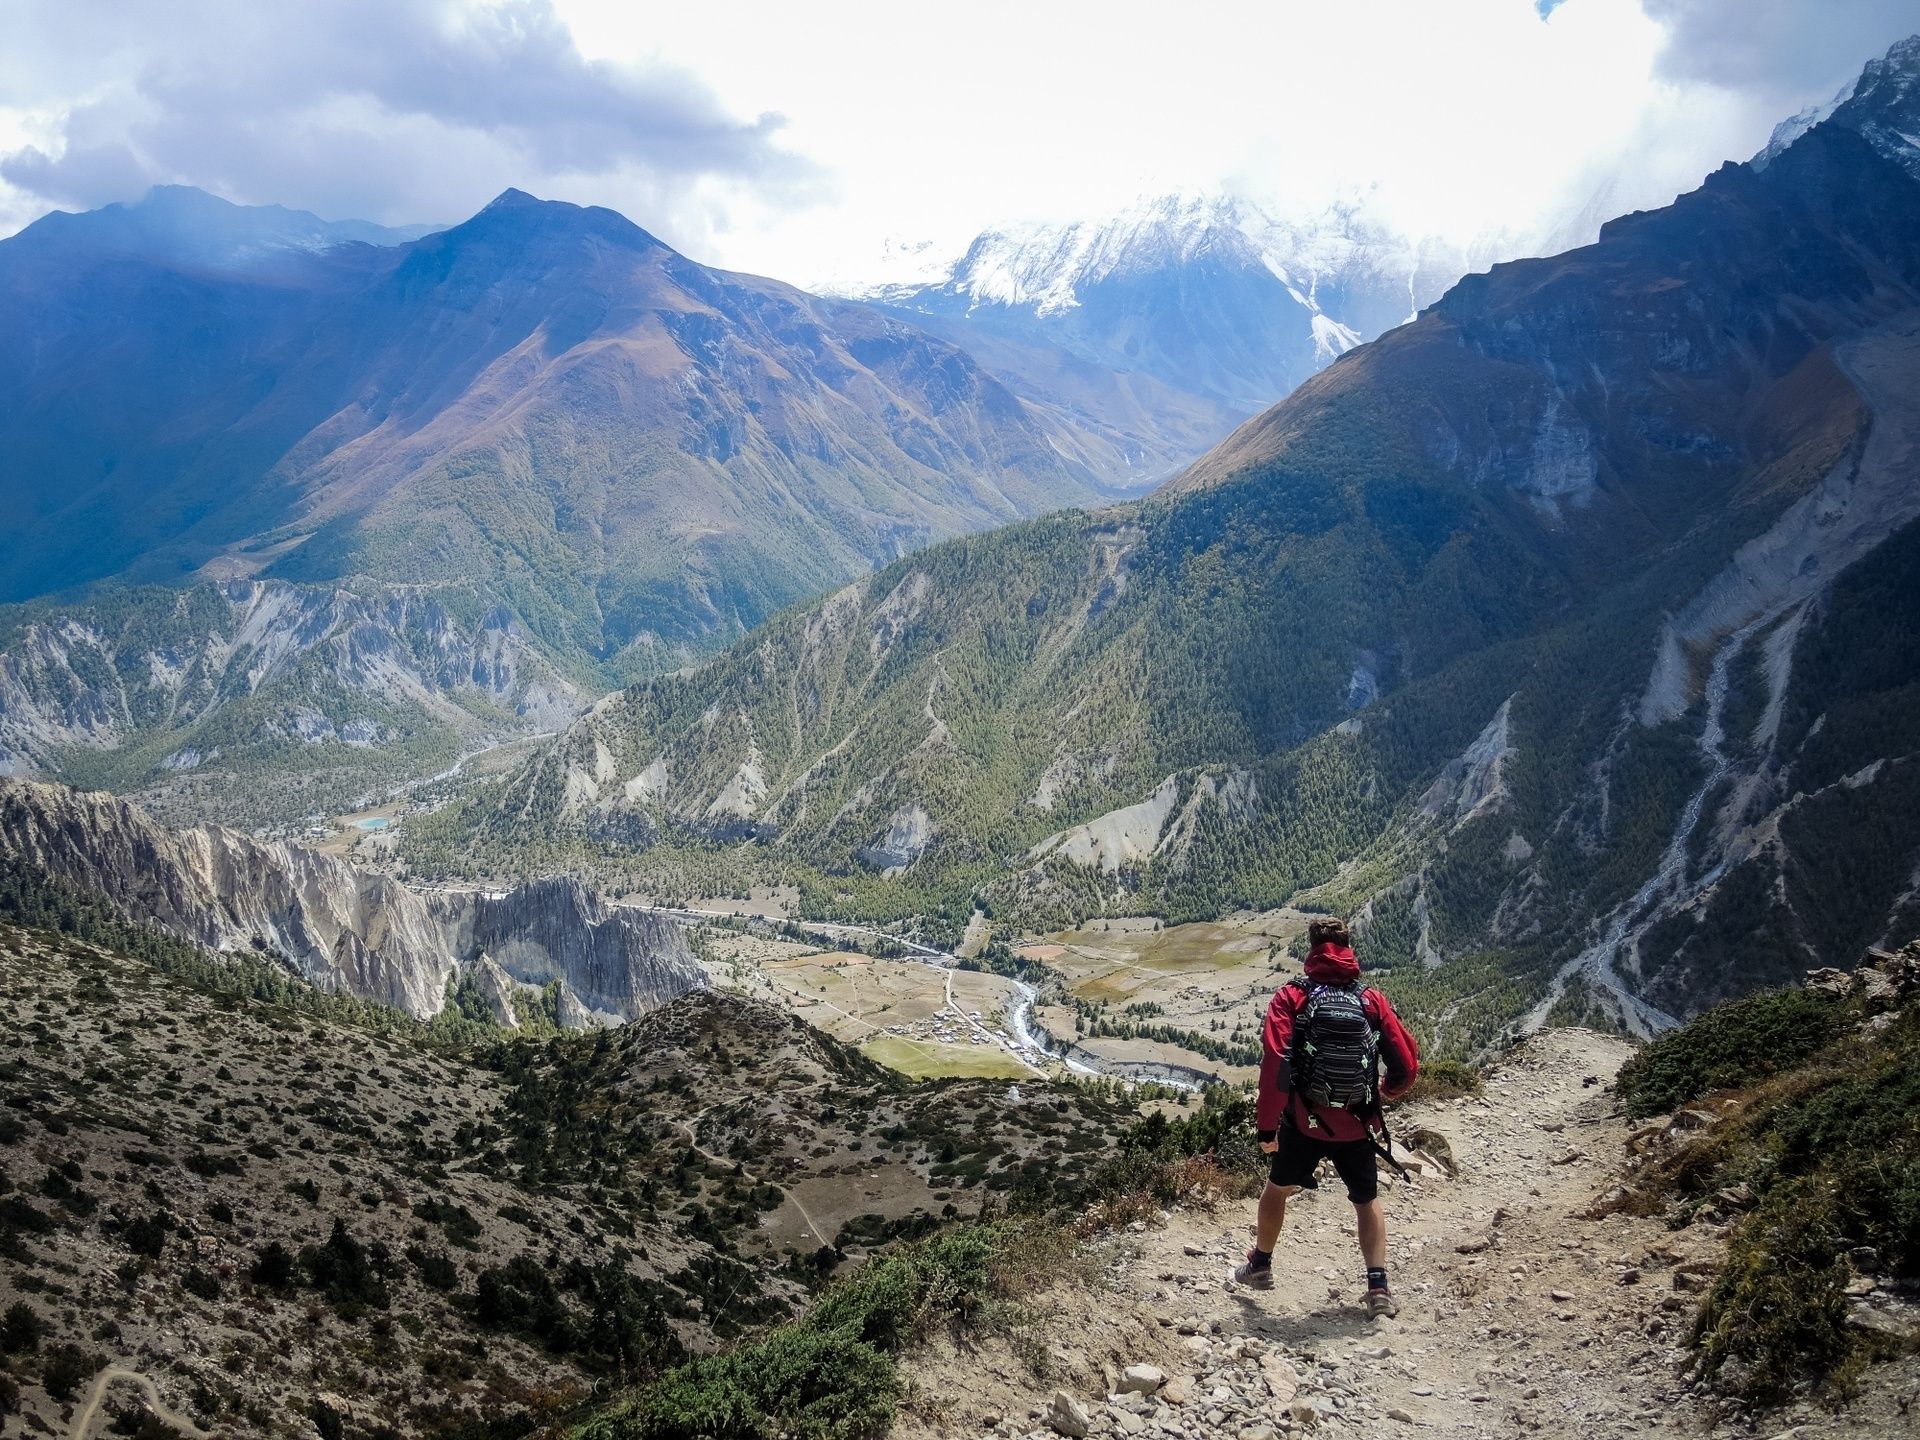
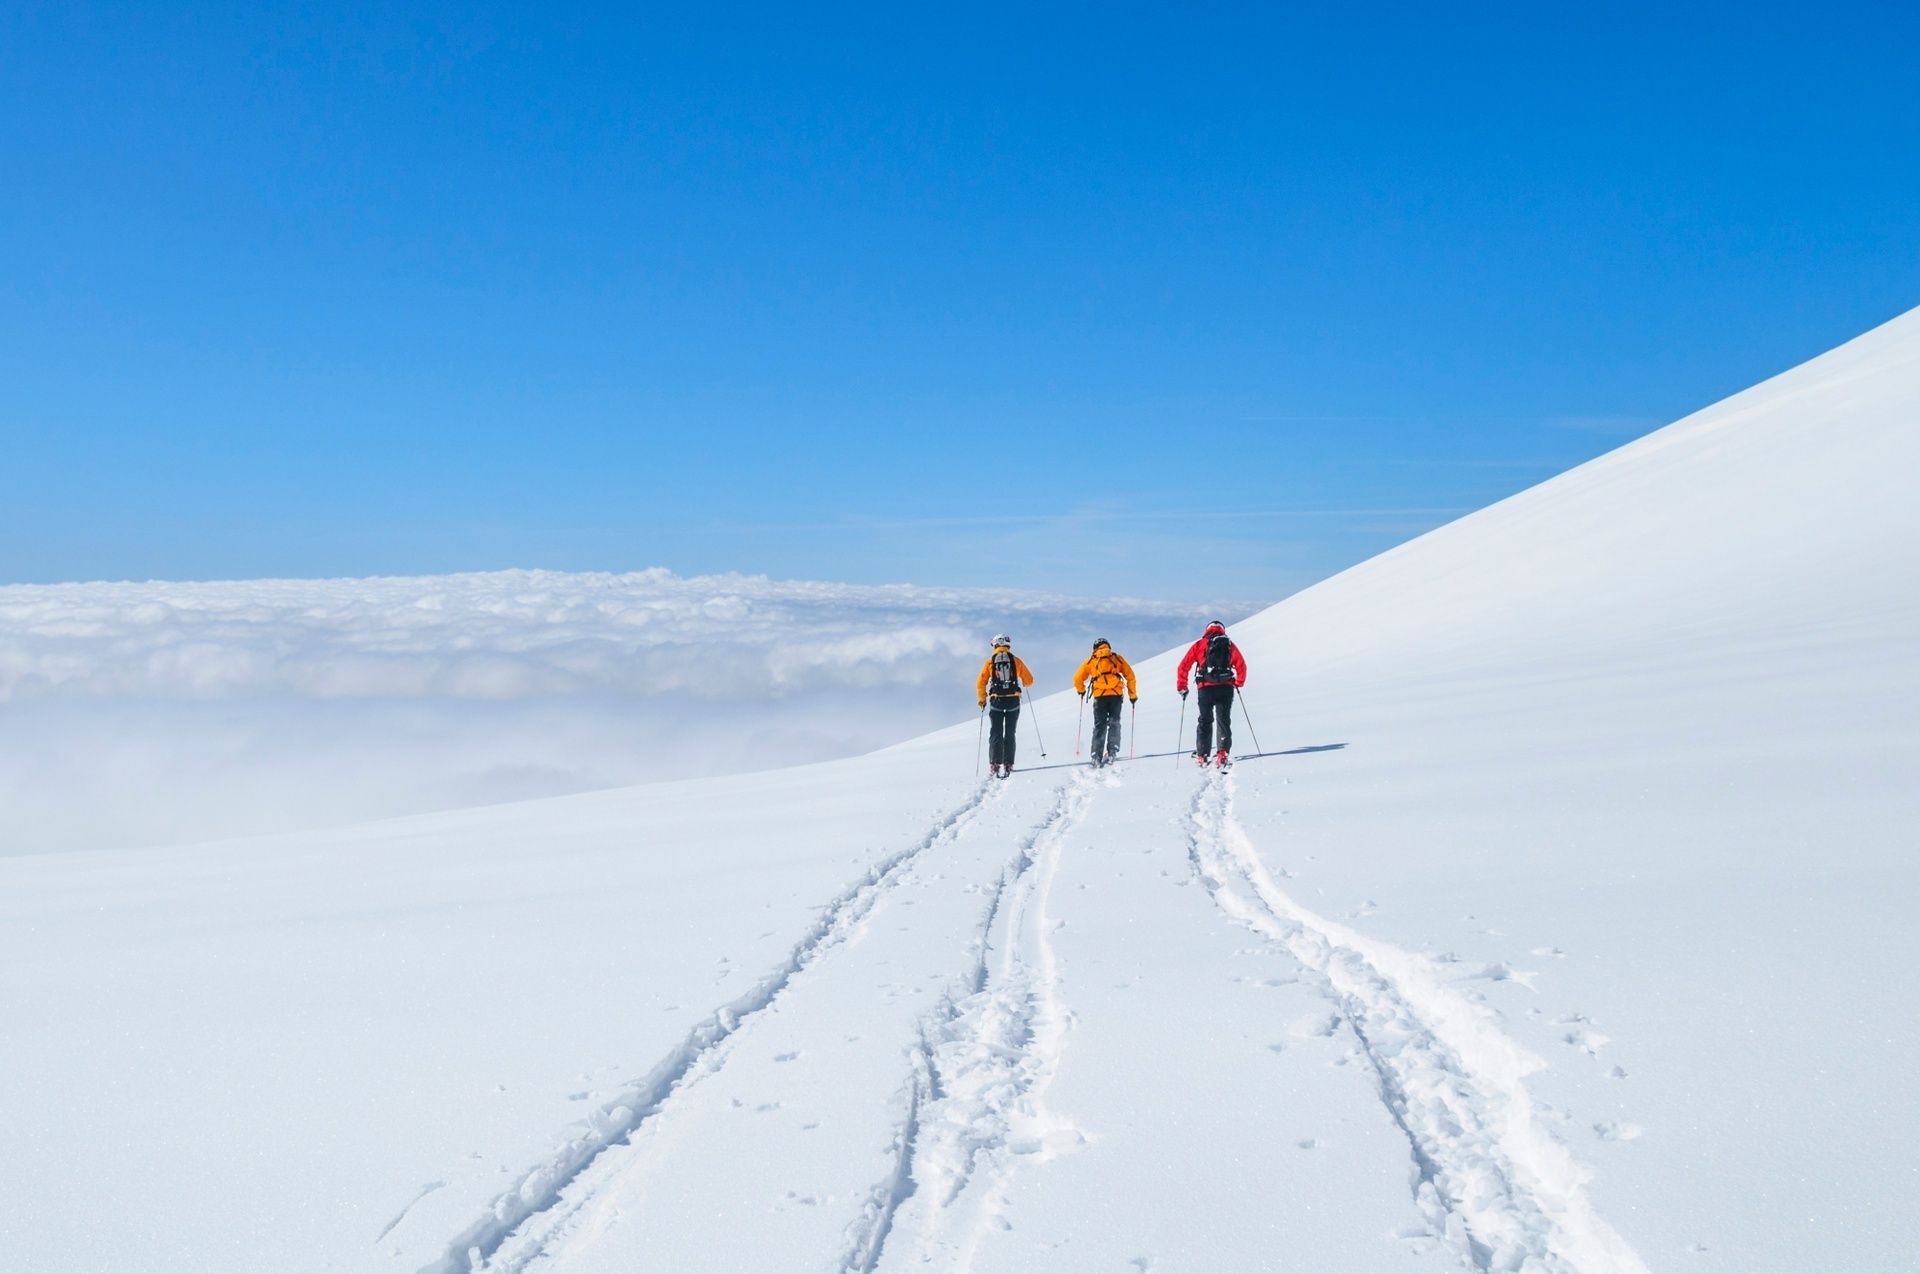
Discover the thrill of trekking. Prepare yourself physically, find a group, plan your journey, pack suitable clothing and equipment!
Discover the differences and similarities between trekking and hiking. From duration to terrain, equipment to accommodation.
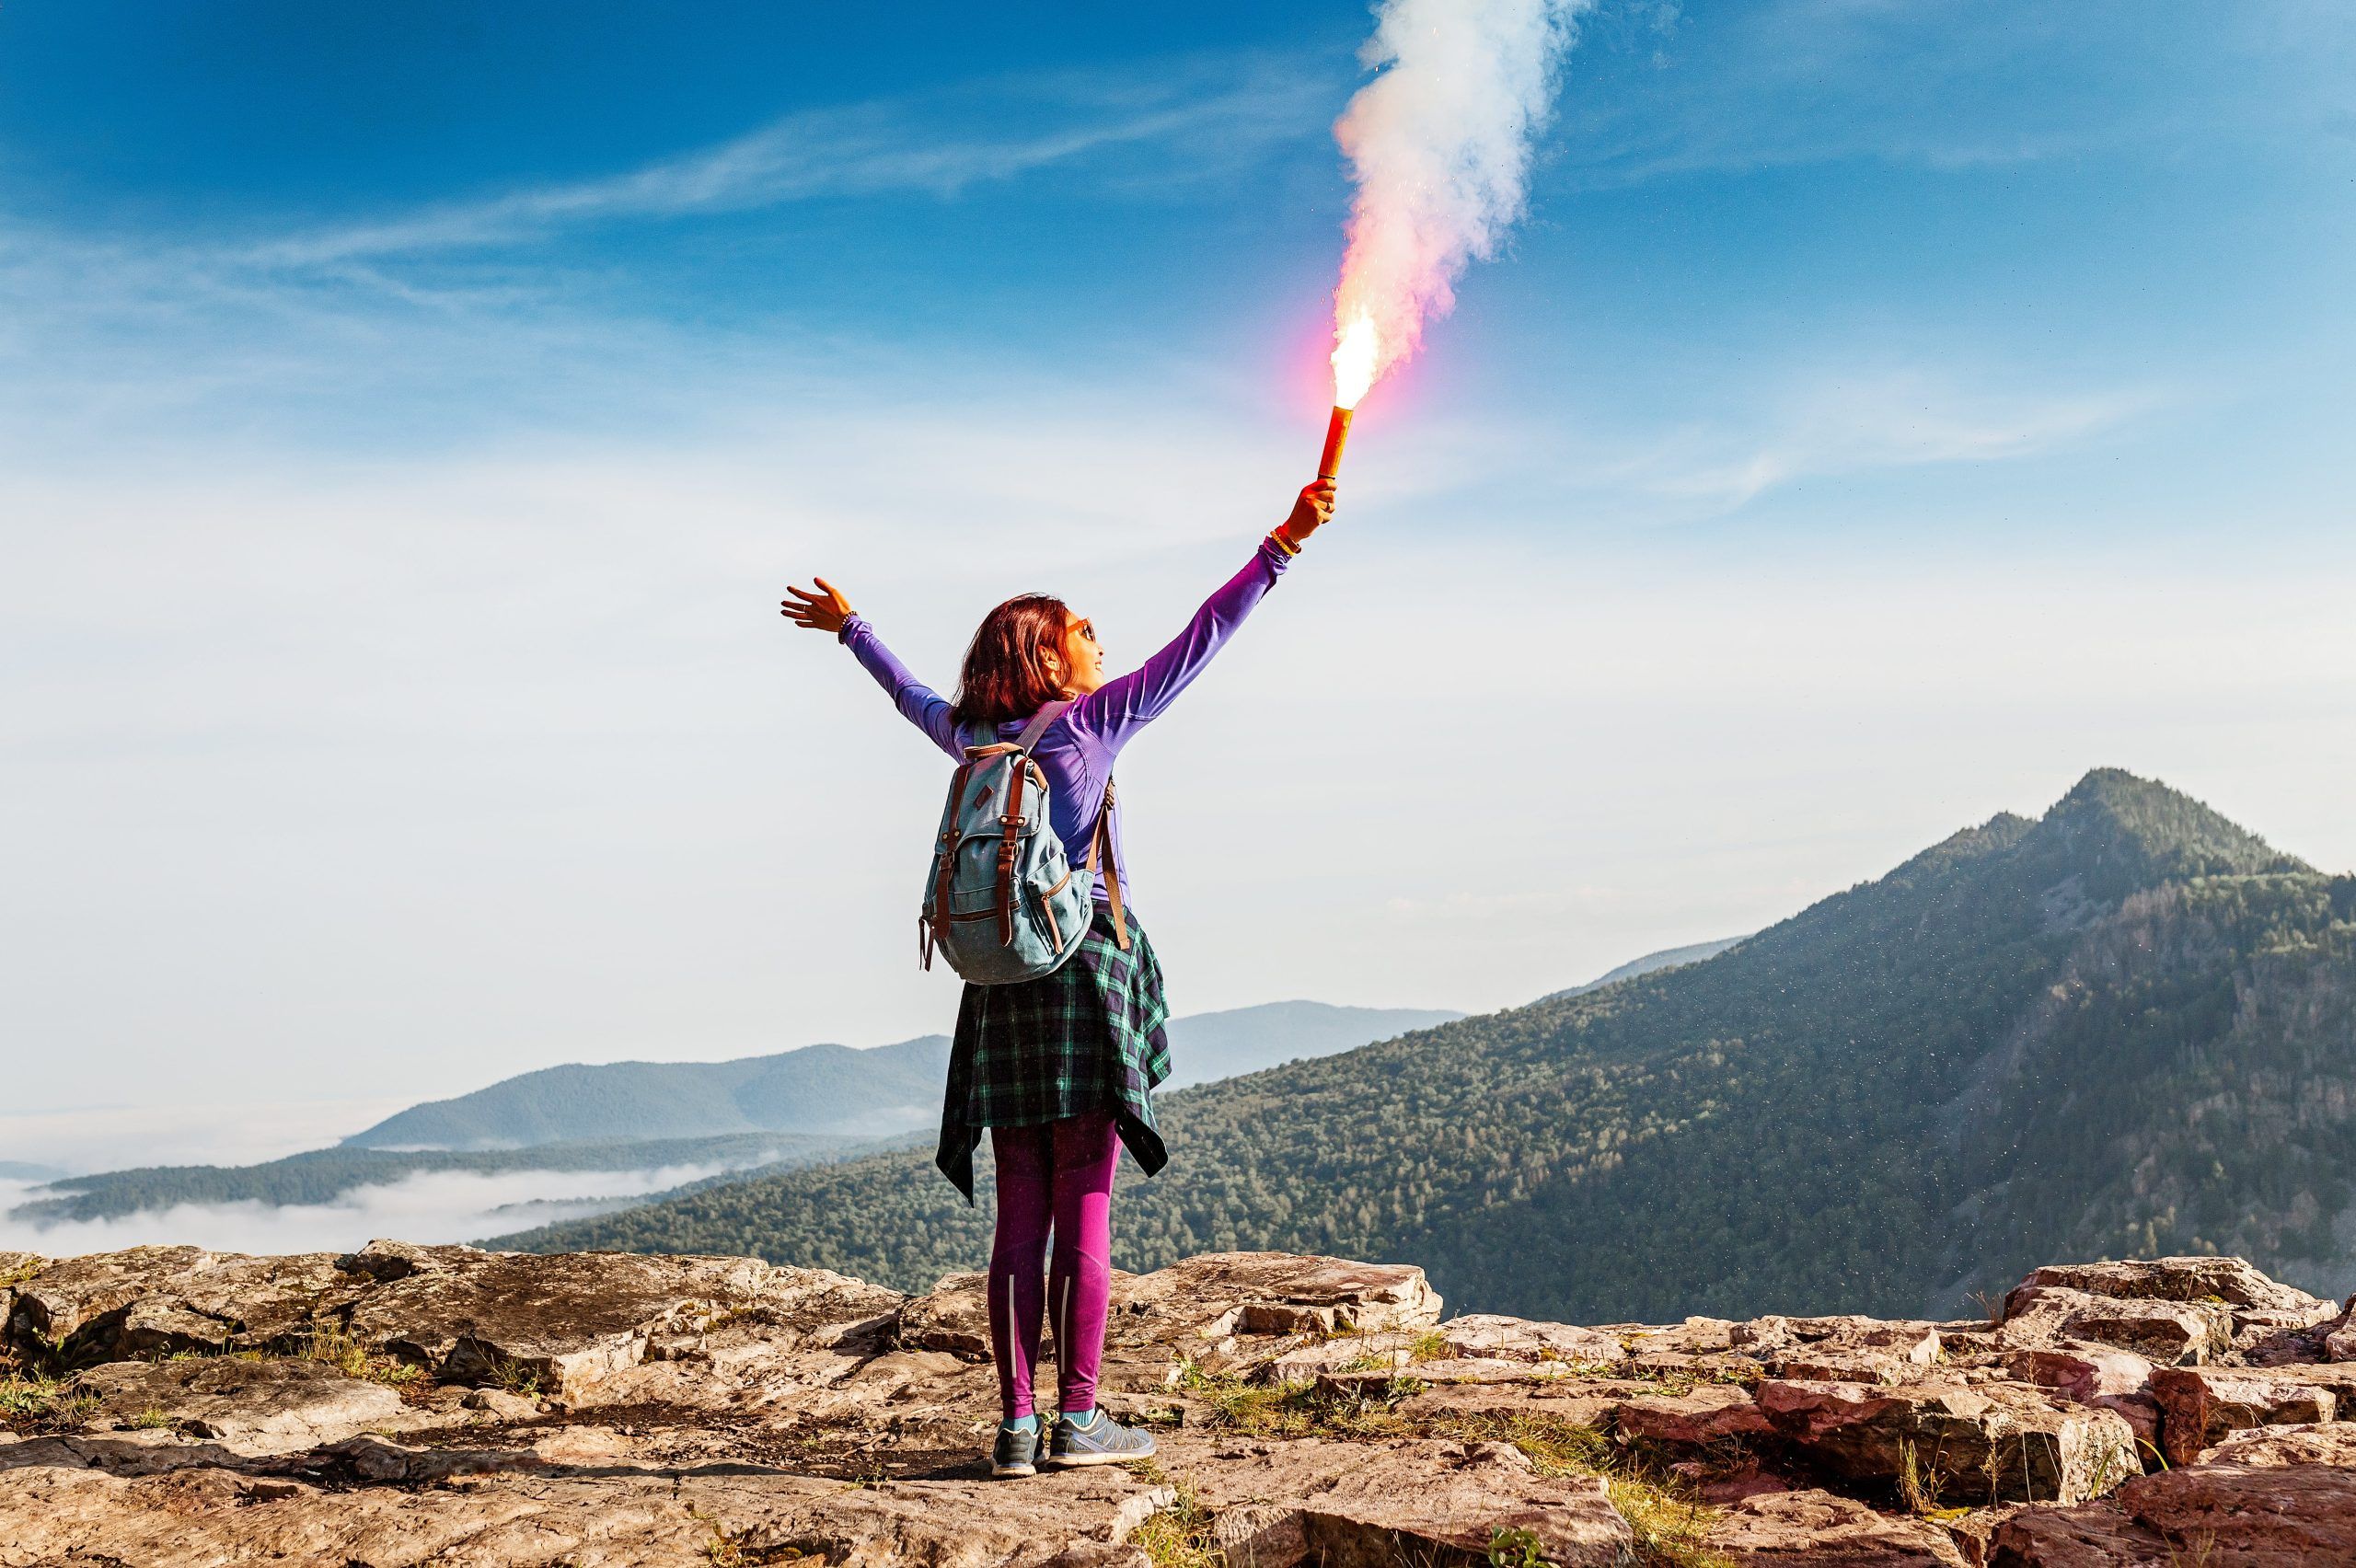
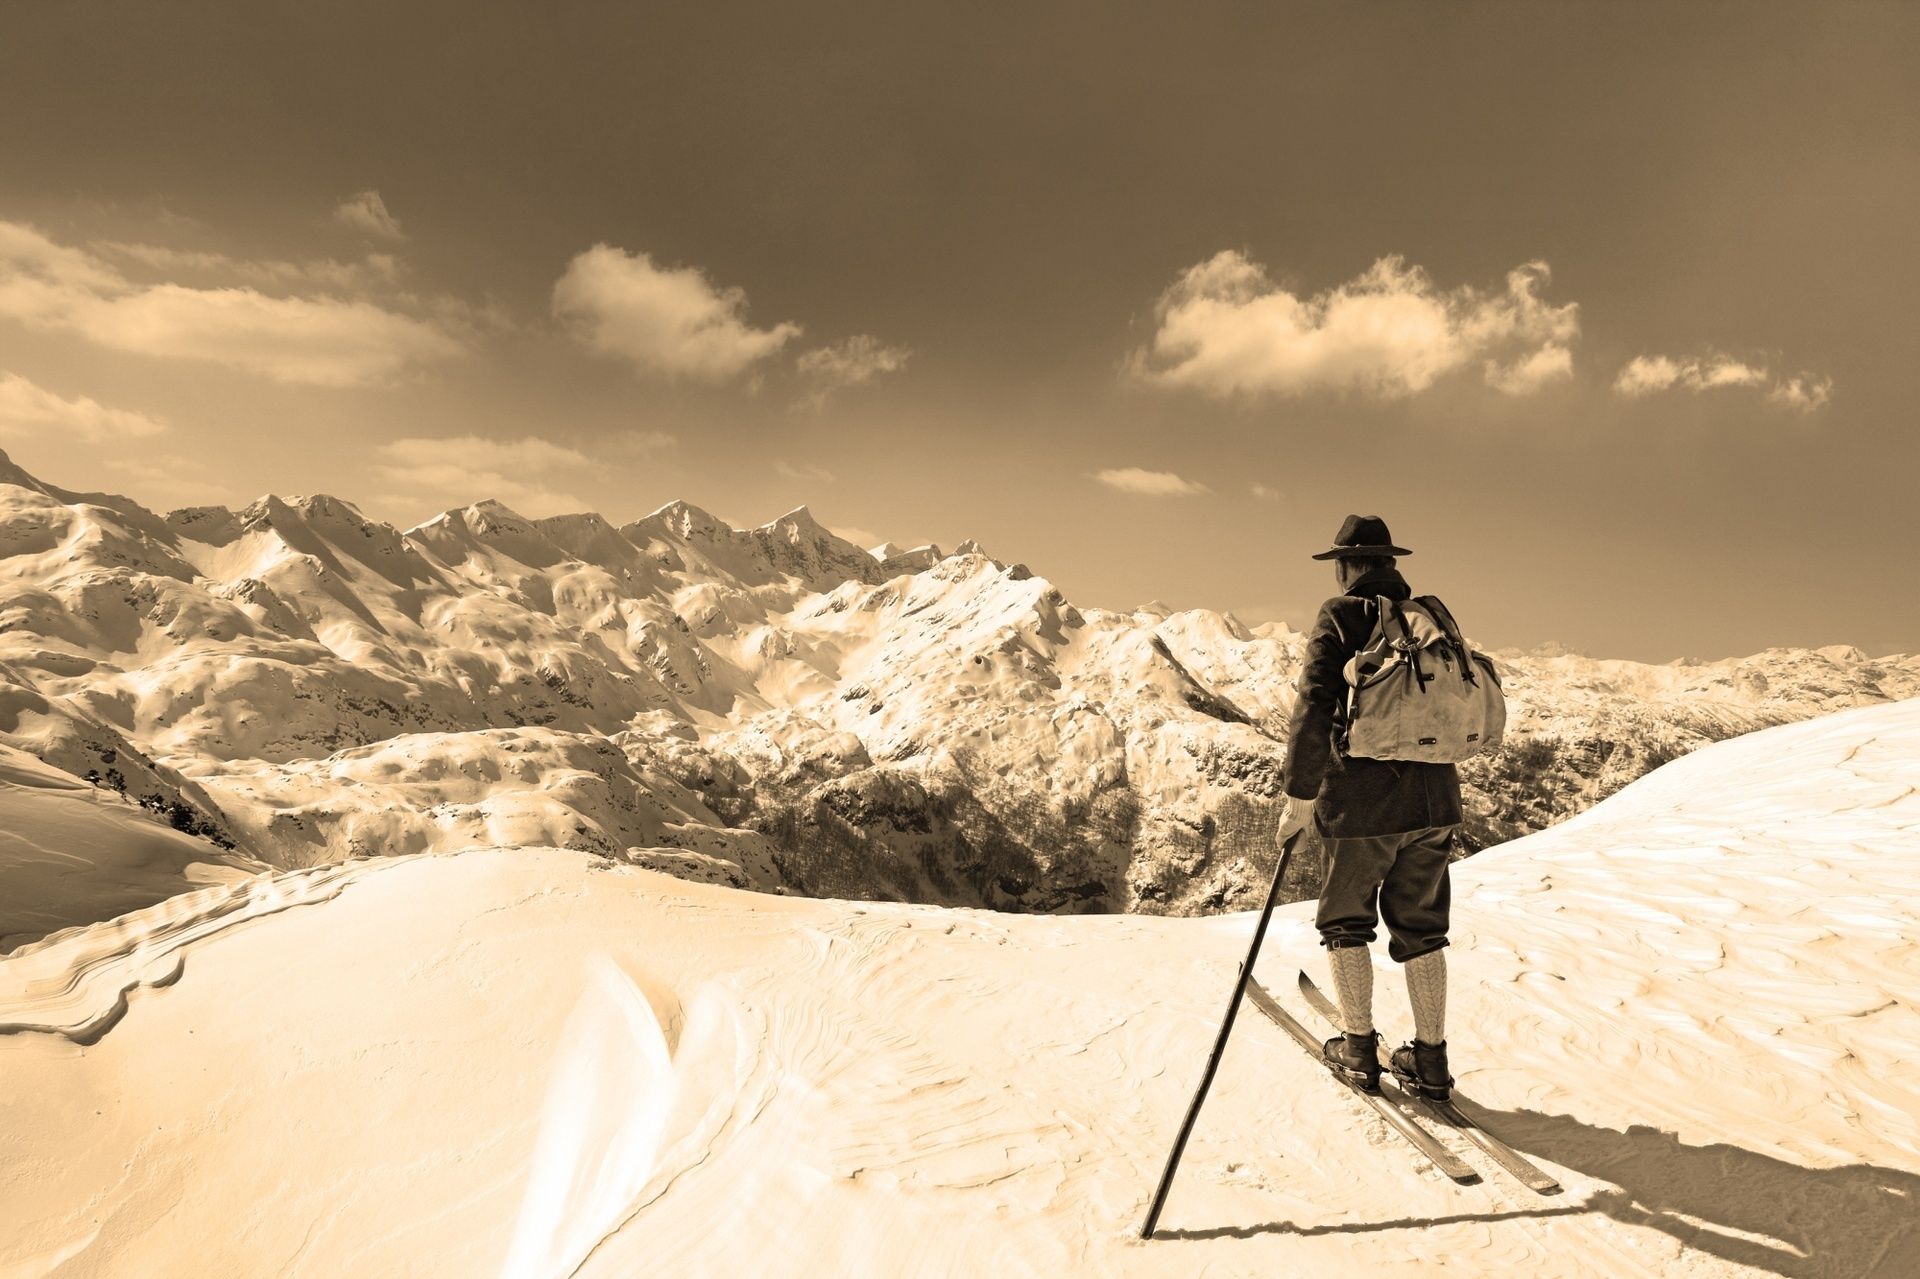
How to signal for help when lost or injured while mountaineering. From emergency calls to distress signals, discover essential techniques.
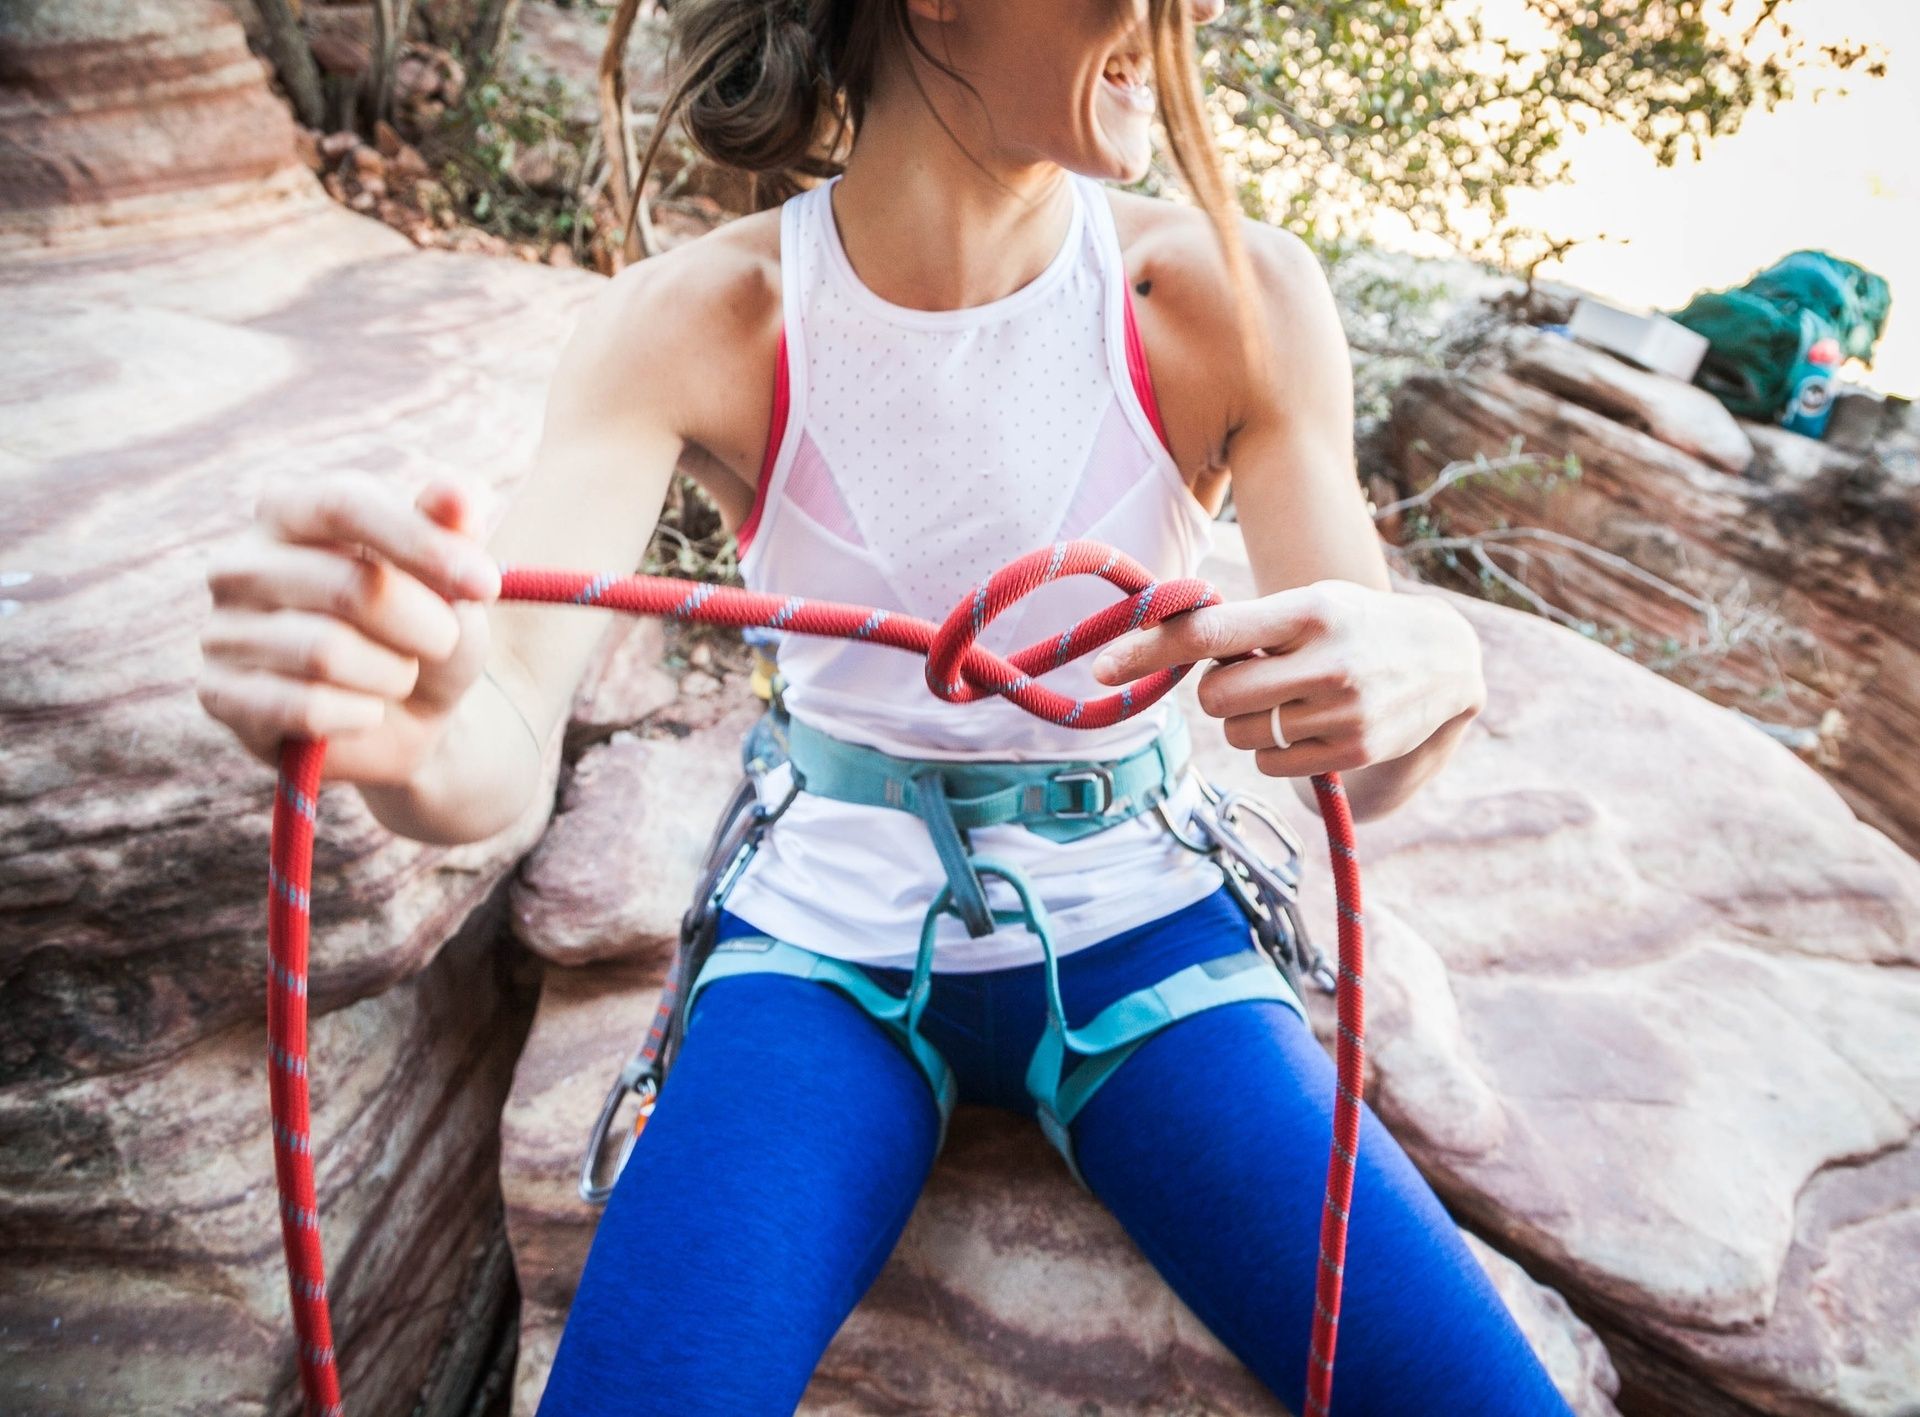
Learn how to tie basic mountaineering knots for safe climbing. From figure-eight to butterfly knots, master the basic techniques for your mountain adventures.

Lifetime Warranty

Fast delivery
Buy now, pay later